3. Laser Pointer Calibration
- Place and secure a flat material on the clamp.
- Press
 button to enter menu mode.
- Use


 buttons. When 3.Calibration menu appears on the LCD window, press
 button to run the menu.
- Select the “3.Pointer/Flat” then press button to run the menu.
- The tool draws a cross (+) line on the material and the laser pointer is turned on.
- Move the laser pointer to the center of the cross by using the direction keys then press button.
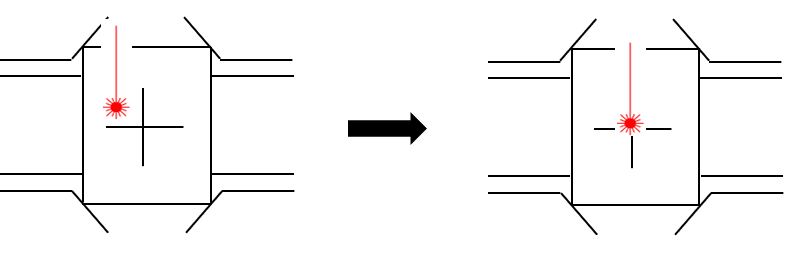
- The laser pointer moves closer to the material to calibrate the laser pointer’s origin. Move the laser pointer to the center of the cross by using the direction keys on the engraving machine then long-press and hold the button (for more than 3 seconds) until it beeps to confirm that the setting is saved.