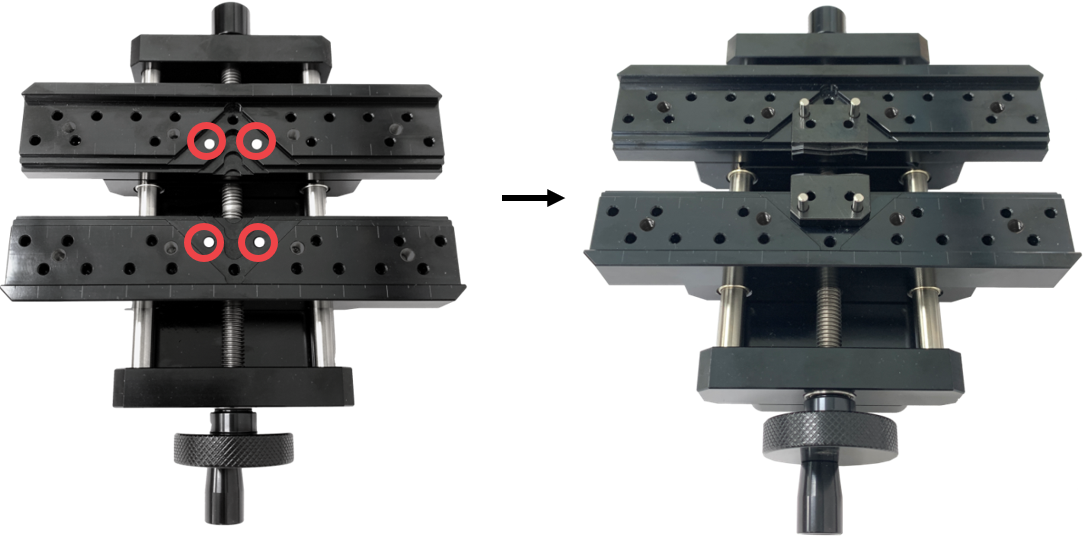
1. Multipurpose clamp
The package includes a multifunctional clamp that is easily assembled, disassembled and transformed into 3 different types of clamps. It can be adjusted according to the height of the material, and can be expanded according to the material’s thickness, size, and shape. This single clamp alone makes engraving on various materials possible without the use of any additional clamps.
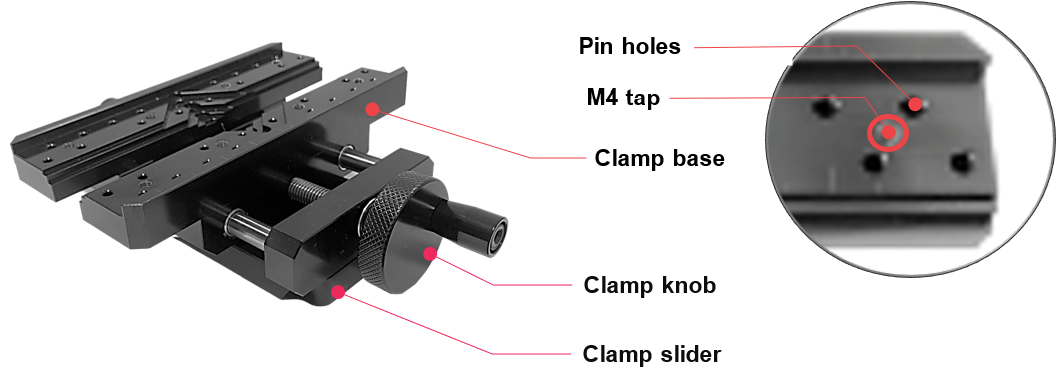
How to secure the material in place
Use the clamping knob to secure your material in place. To loosen or widen the clamp, turn the clamping knob counterclockwise; to fasten it, turn the knob clockwise.
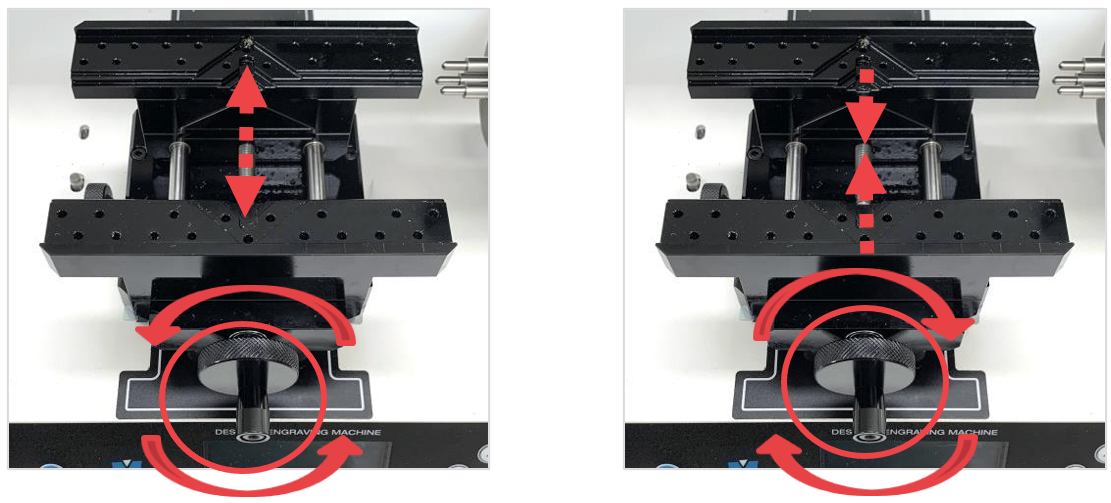
Marks may be left on the material if fastened tightly.
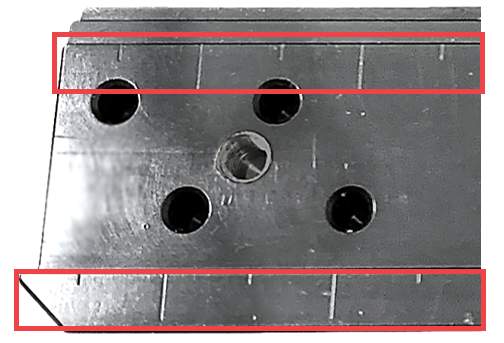
How to position the material
Use the vertical ruler bar as an alignment guide to help you position and align your material to the clamp with ease and accuracy. Properly place your material on the clamp then check the alignment.
How to secure the material with irregular shape in place
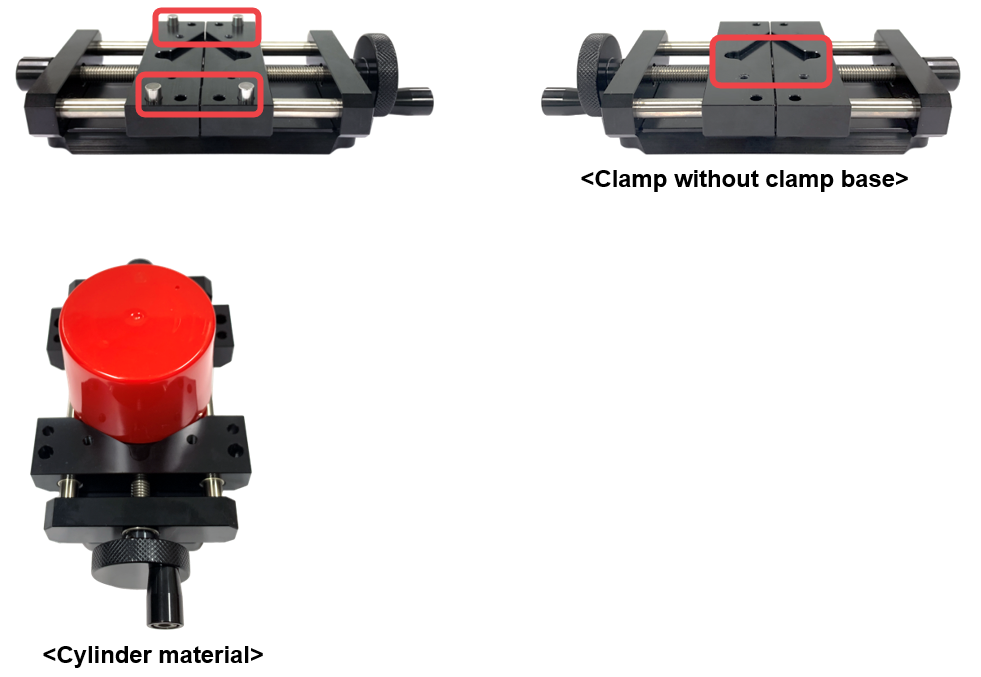
Use the clamping pins to firmly hold materials with irregular shapes in place. To secure the clamping pins to the clamp, simply insert the pins into the pin holes then fasten them.
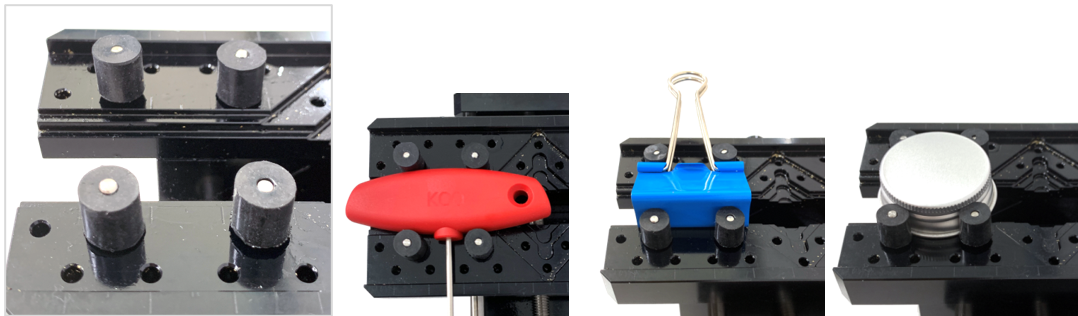
How to adjust the height of the clamp
Below are instructions on how to adjust the height of the clamp according to the thickness of the material.
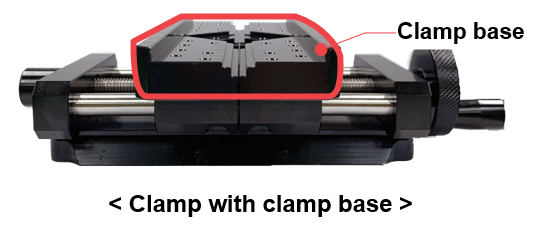
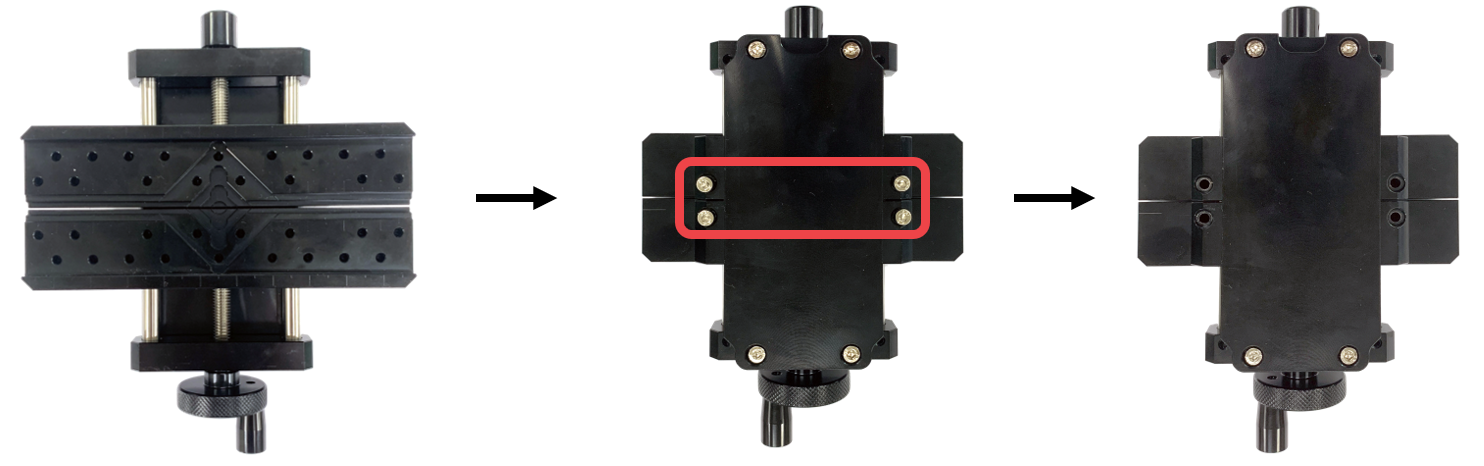
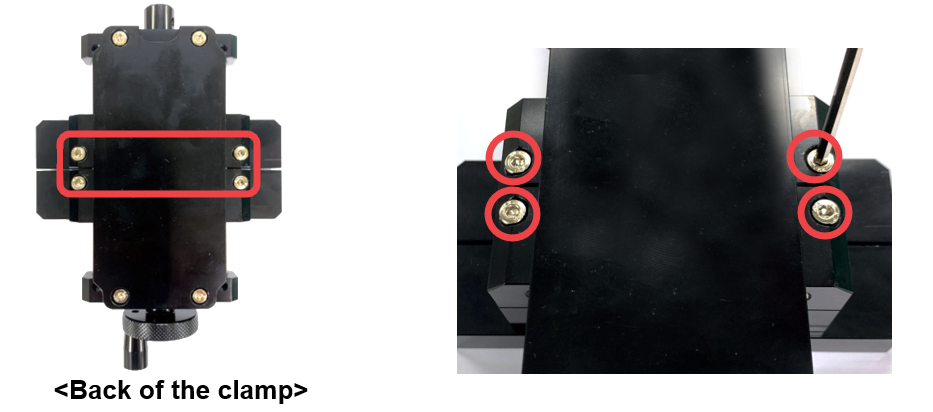
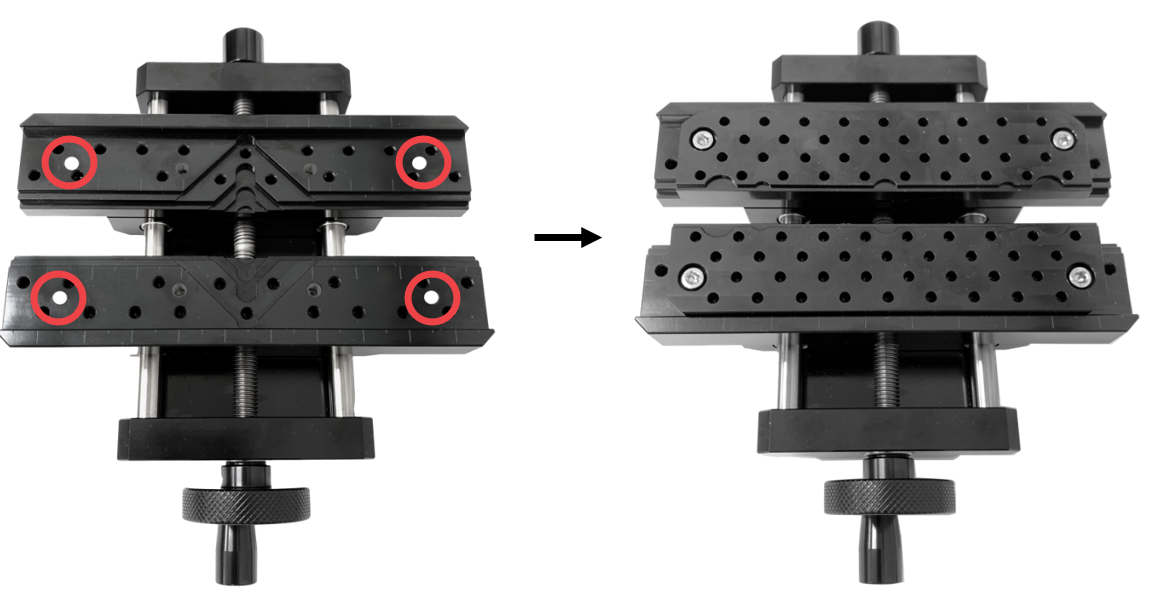
- Turn the clamp over (to the back) then screw the bolts (M4x20mm). ※Use a 3mm L-wrench to screw the bolts.
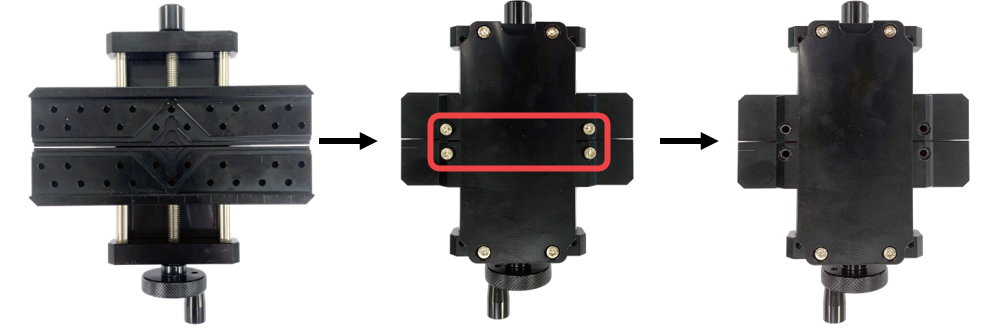
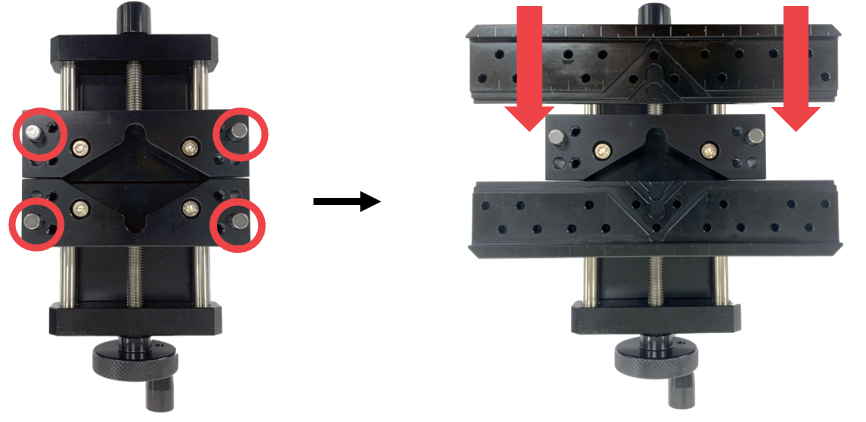
- Turn the clamp over (to the front) then pull out the clamp base.
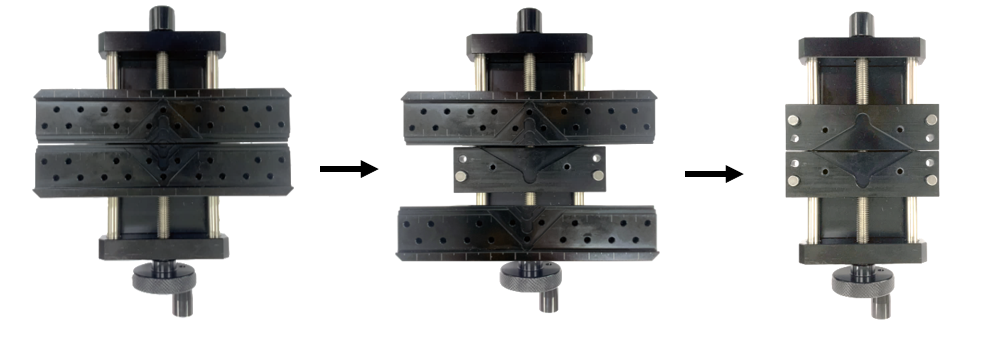
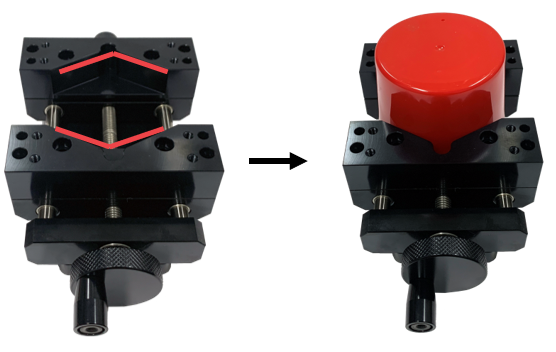
- Remove the clamping pins then secure the material to the V groove of clamp without clamp base. (See picture below for reference).
Height Adjustable Clamp
Height adjustable clamp is used to adjust the height of your material.
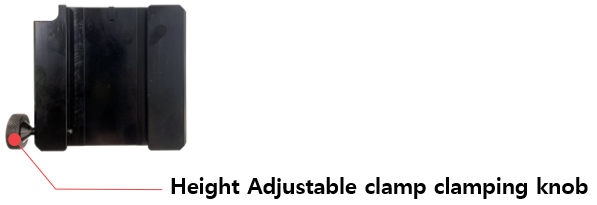
| Height adjustable clamp (CP-252) |
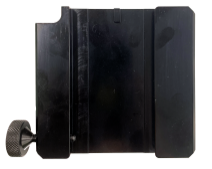 |
1EA | To adjust the height of the clamp. |
- Turn the Height Adjustable clamp clamping knob counterclockwise to detach the Multipurpose Clamp.
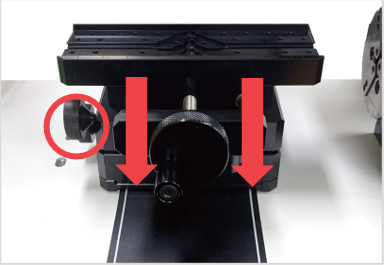
- Turn the clamping knob counterclockwise to detach the height adjustable clamp.
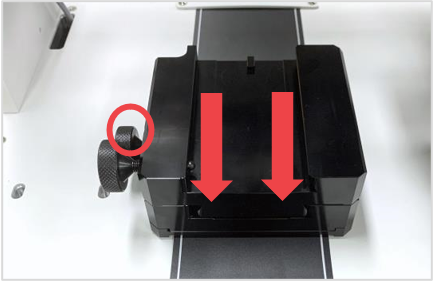
- Attach the multipurpose clamp then fasten it by turning the clamping knob clockwise.
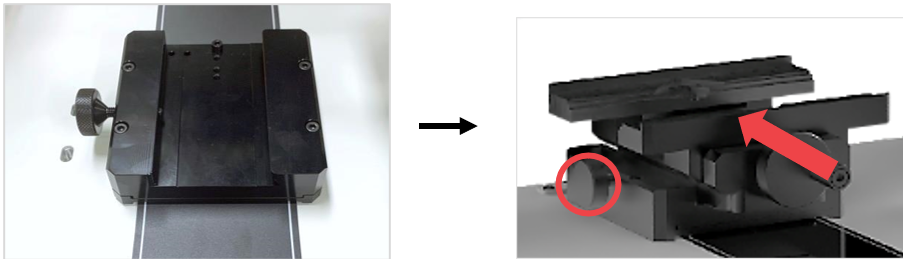
How to adjust the height of the clamp
※Optional device; sold separately
Below are instructions on how to adjust the height of the clamp according to the thickness of the material.
| Spacer block (CP-250S) |
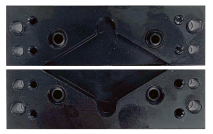 |
1EA | To adjust the height of the clamp. |
- Turn the clamping knob counterclockwise to detach the clamp.
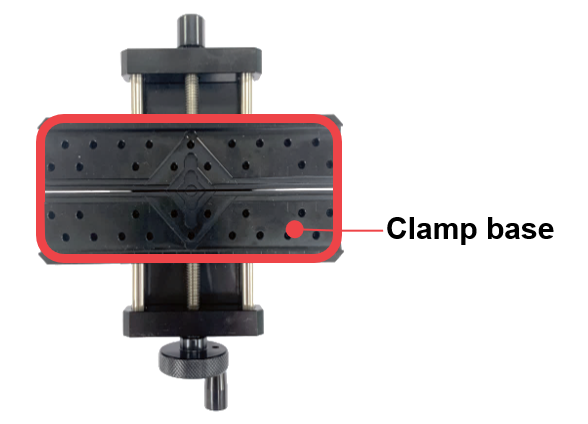
- Turn the clamp over (to the back) then screw the bolts (M4x20mm). ※Use a 3mm L-wrench to screw the bolts.
- Once the bolts are removed, turn the clamp over (to the front) then pull out the clamp base. Then, reassemble the spacer block to pin.
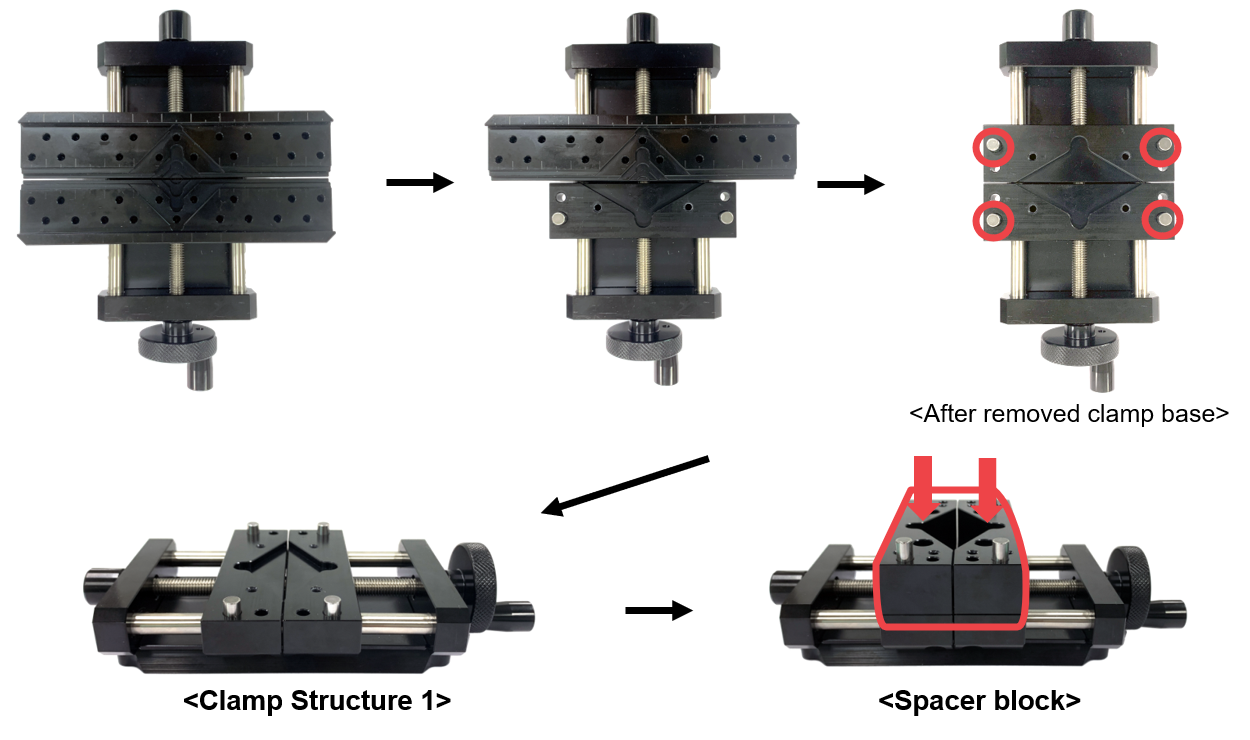
※ After secure the spacer block, then secure the material to the V groove of clamp.
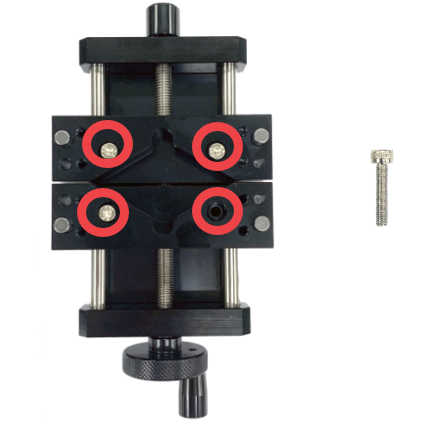
- Screw the spacer block fixing bolt (M4x20mm). ※Use a 3mm L-wrench to unscrew the bolts.
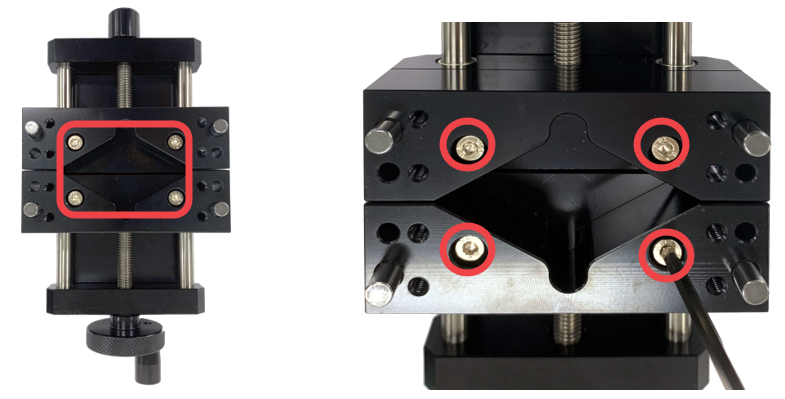
- Secure the base clamp by attaching it to the pins.
- Turn the clamp over (to the back) then unscrew the bolts (M4x40mm).
※Use a 3mm L-wrench to unscrew the bolts.
※ To assemble or reassemble the spacer block, use the appropriate bolts. Be sure to use and secure the spacer block using the correct type of bolts.
 |
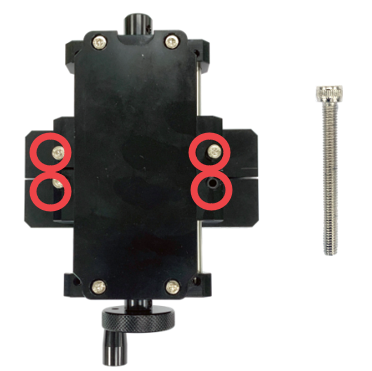 |
| Spacer block fixing bolt- M4x20mm | Clamp base fixing bolt- M4x40mm |
Optional items for Multipurpose Clamp
1. Pin clamp
※Optional device; sold separately
| Pin clamp (CP-80) |
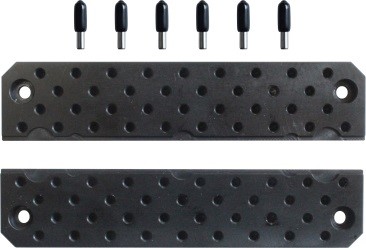 |
1SET | To hold materials with different shapes in place. |
| Pin (CP-172) |
 |
5EA | To hold materials with irregular shapes in place. |
| Wrench bolt (M4x6) |
 |
5EA | To fasten the clamp. |
| L-wrench(3mm) (CP-L30) |
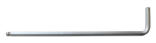 |
1EA | For tightening/unscrewing the bolt. |
2. Cutlery clamp
※Optional device; sold separately
| Cutlery clamp (CP-83) |
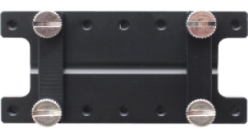 |
1SET | To firmly hold spoons in place. |
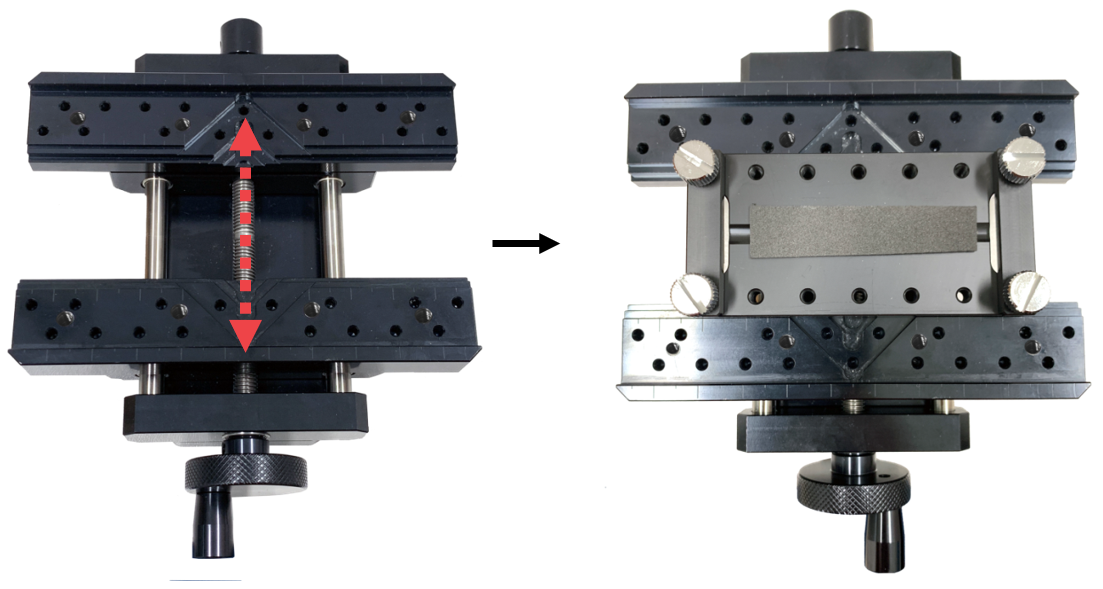
3. Watch adapter
※Optional device; sold separately
| Watch adapter (CP-84) |
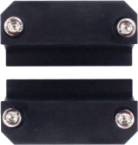 |
1SET | To firmly hold watch in place. |
| Wrench bolt |  |
5EA | To fasten the adapter. |
| L-wrench(3mm) (CP-L30) |
|
1EA | For tightening/unscrewing the bolt. |
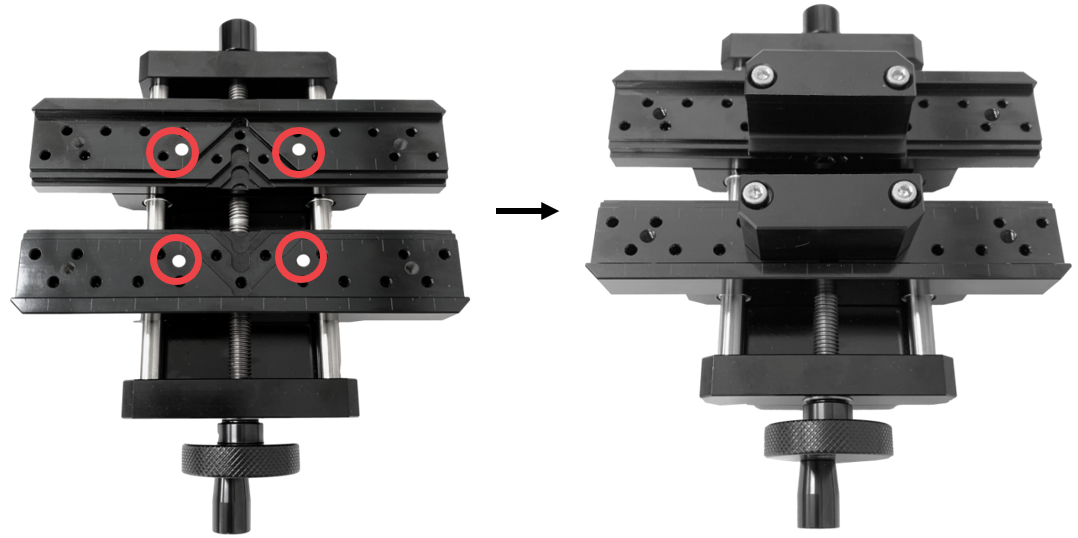
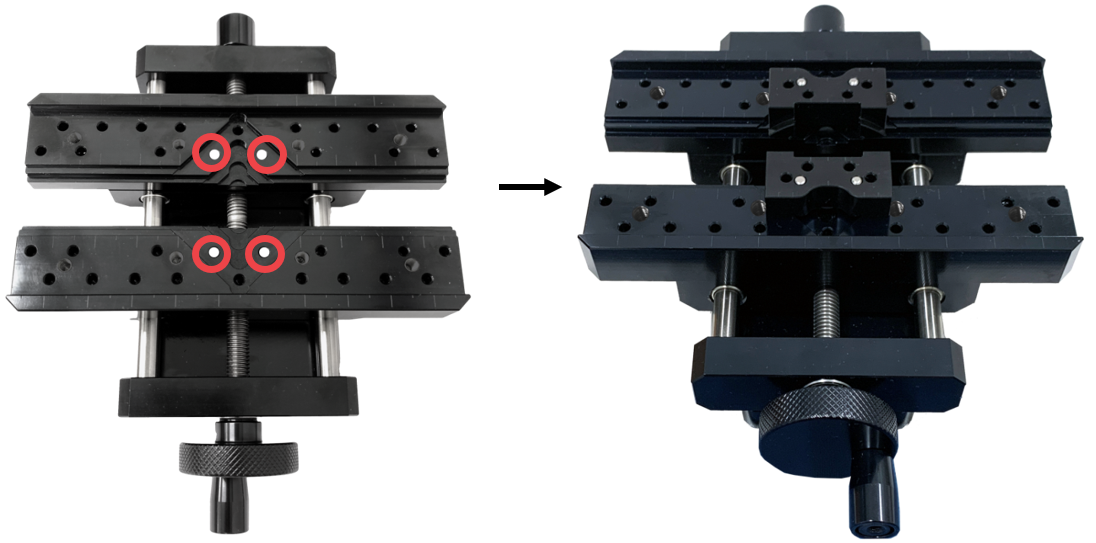
4. Bracelet adapter
※Optional device; sold separately
| Bracelet adapter (CP-85) |
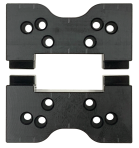 |
1SET | To firmly hold bracelets in place. |
| Pin | 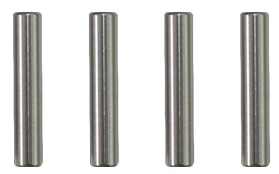 |
4EA | To secure the adapter. |
5. Bar necklace adapter
※Optional device; sold separately
| Bar necklace adapter (CP-166) |
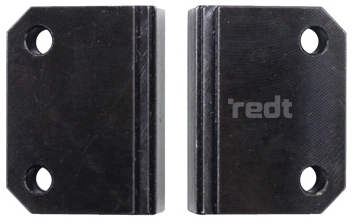 |
1SET | Jig for holding materials with narrow width (about 2-3mm) in place. (Used for securing pendants, bar necklaces, etc.) |
| Pin | |
4EA | To secure the adapter. |
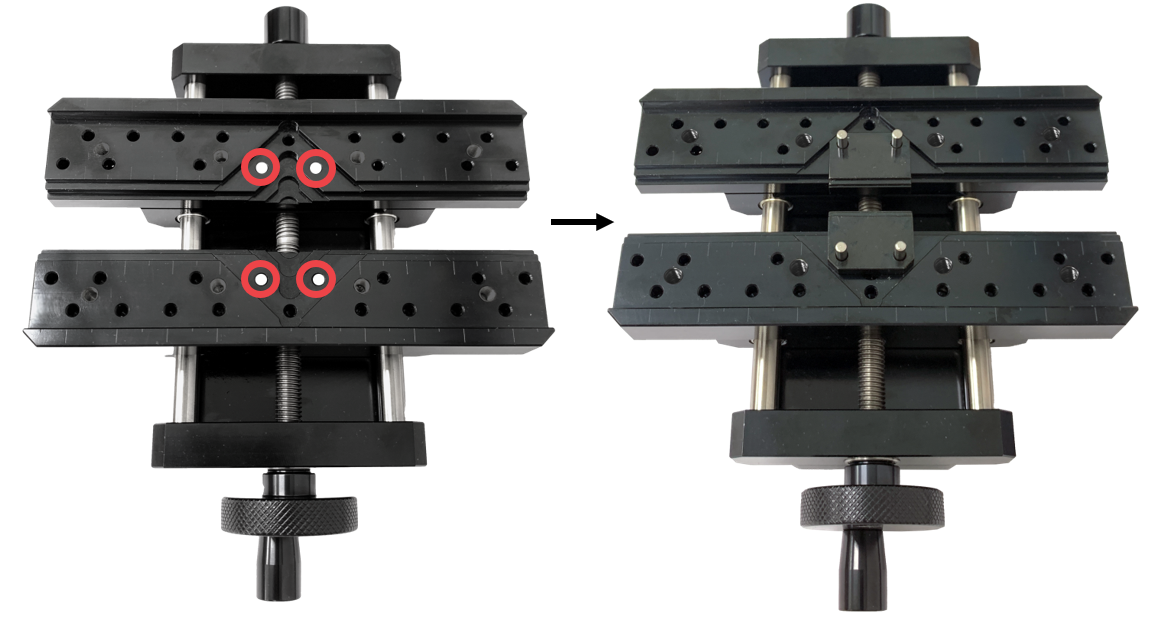
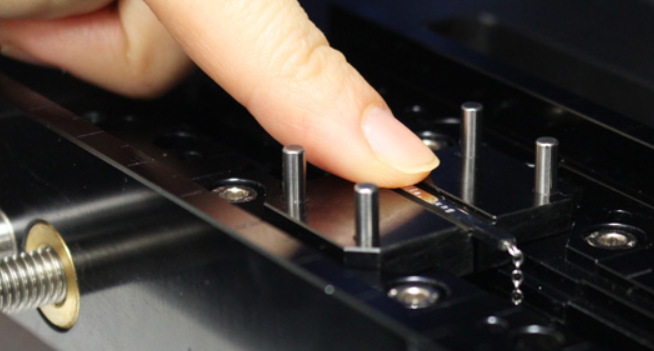
*Materials like bar necklaces or pendants may come off easily when attaching to the jig.
Press the material with your finger to secure it to the jig and be sure to not let your finger get caught while pressing.
6. Brick adapter
※Optional device; sold separately
| Brick adapter (CP-167) |
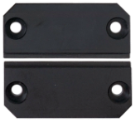 |
1SET | To firmly hold brick in place. |
| Wrench bolt | |
4EA | To fasten the adapter. |
7. Brick adapter (Shallow type)
※Optional device; sold separately
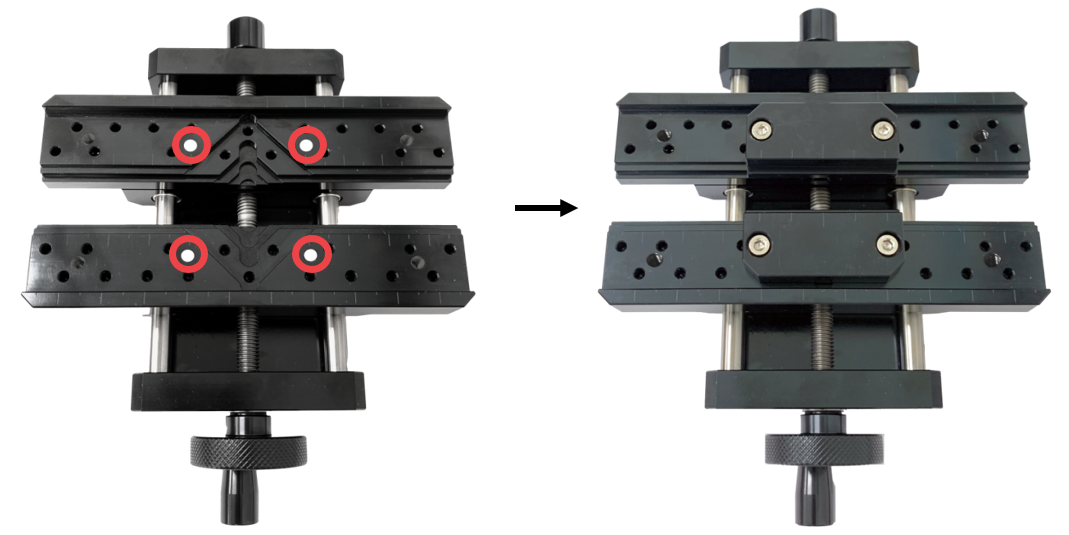
| Brick adapter (Shallow type) (CP-167S) |
|
1SET | To firmly hold brick in place. |
| Wrench bolt | |
5EA | To fasten the adapter. |
| L-wrench | |
1EA | For tightening/unscrewing the bolt. |
8. Curved tag adapter
※Optional device; sold separately
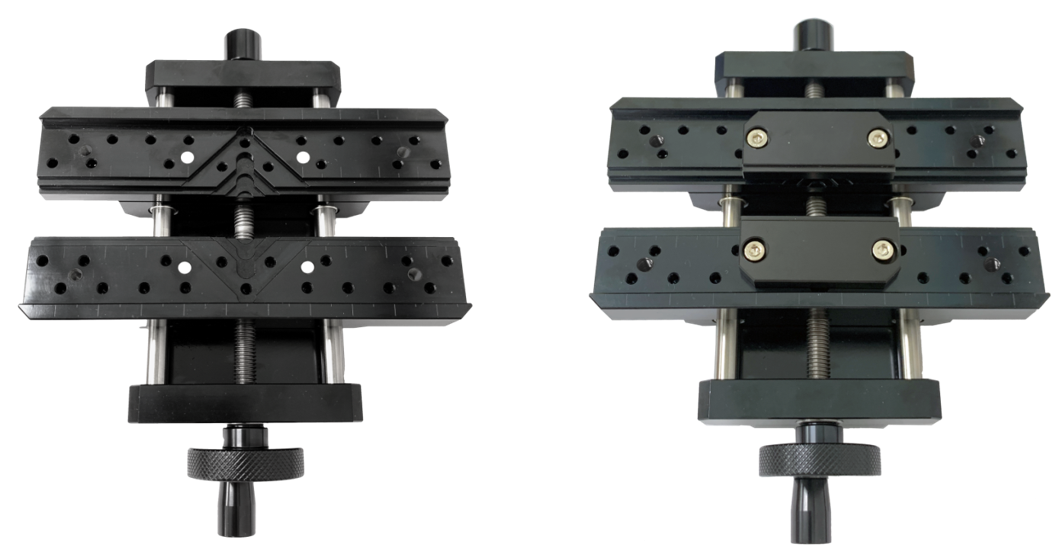
| Curved tag adapter (CP-182) |
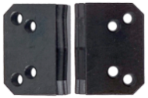 |
1SET | Jig for holding curved materials in place. (Used for securing curved pendants, chain bracelets, etc.) |
| Pin | |
4EA | To secure the adapter. |