5. Rotary origin
Calibrate rotary origin if rotary clamp is in use.
How to calibrate rotary clamp origin
- Place and secure the rotary clamp to the work area.
- Click Rotary Origin.
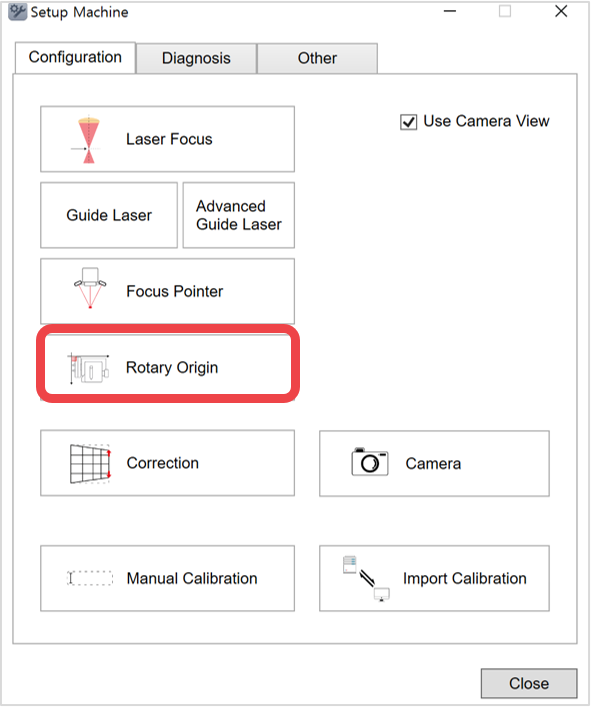
- If rotary clamp auto tilting function is enabled, first, set the tilting origin to 0 degree.
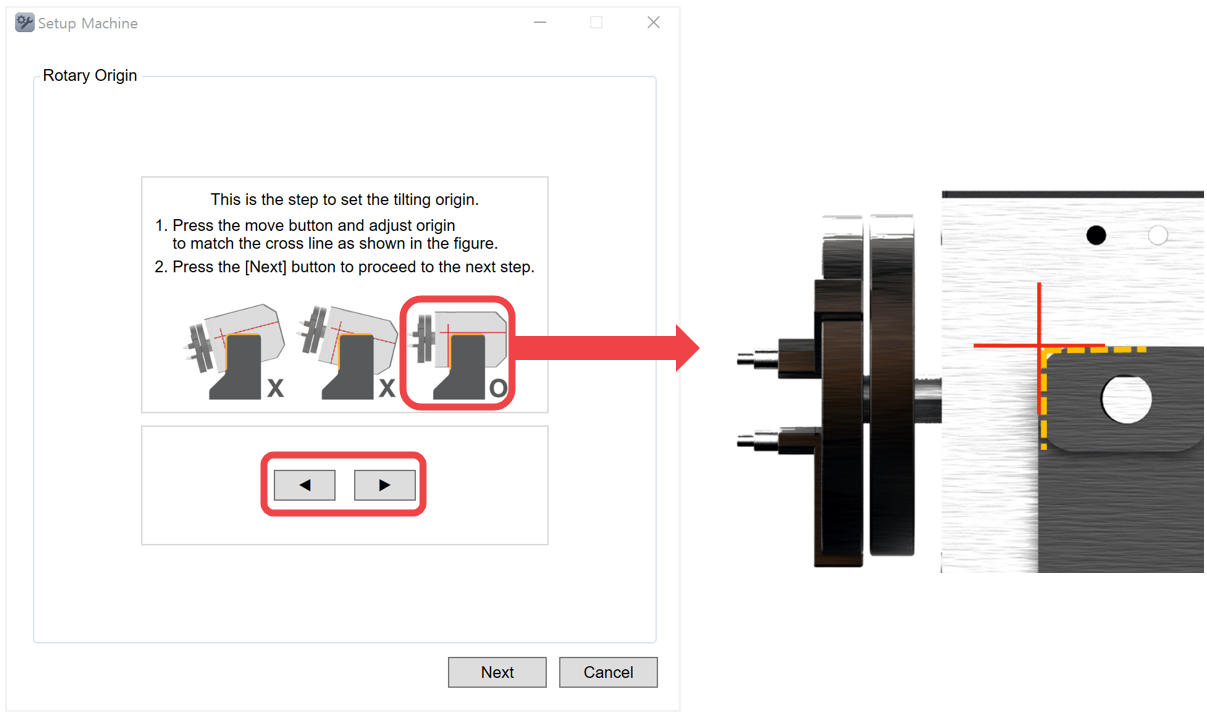
How to set the tilting origin to 0
Match the clamp angle with the cross mark on the clamp body (as shown above).
Click  up/down button to adjust the angle by 0.1 degree.
Once the angle is positioned to 0 degree, click Next.
| Setting tool | 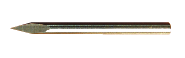 |
1EA | Tool for rotary origin setting. |
- Insert the setting tool into the rotary (as shown below).
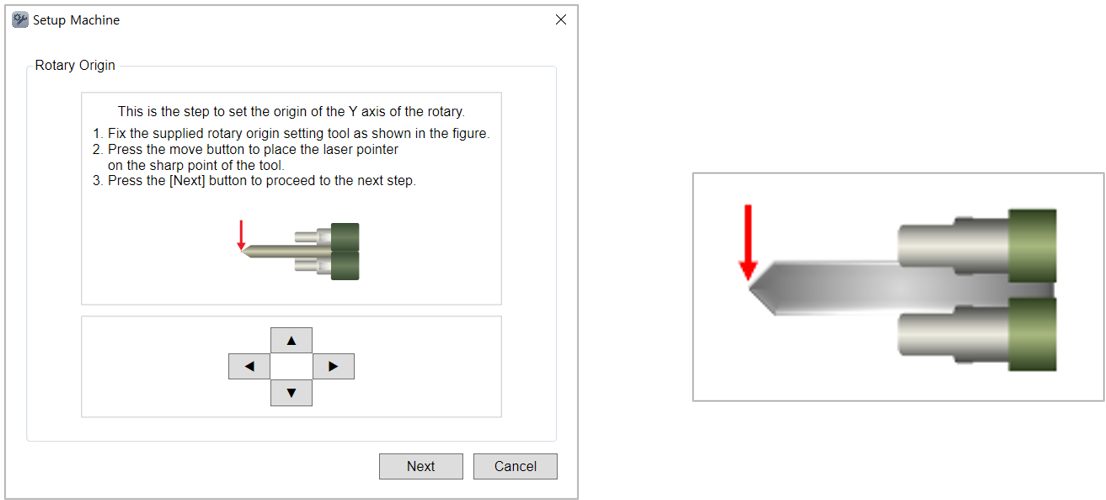
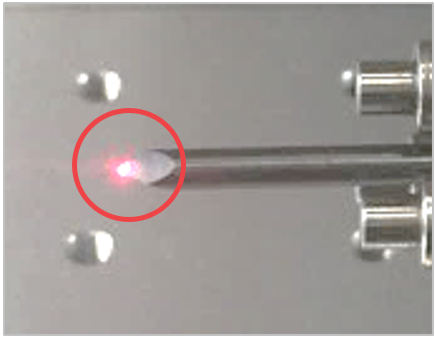
- Match the tip of the tool to the laser pointer. Use the direction key buttons to position the laser pointer to tip of the tool. Then, click Next.
Or, on the machine, use
 buttons then long-press
 button (for more than 1 second).
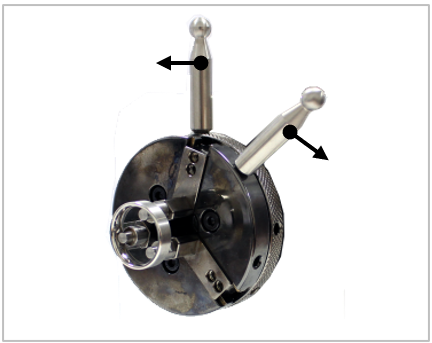
- Remove the setting tool then insert the ring into the finger chuck (as shown below). Use both finger chuck handle to tighten the clamp and secure the ring.
- Then, move to the next step. Enter the size of the ring.
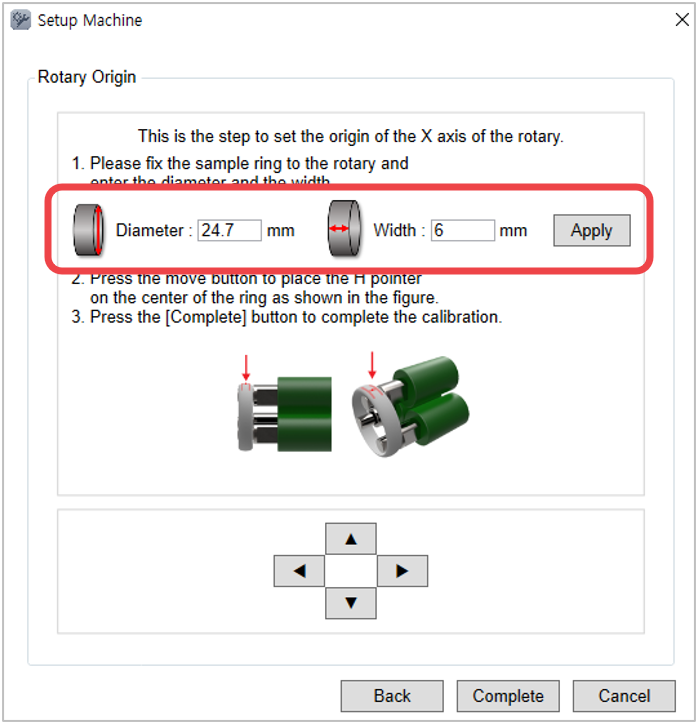
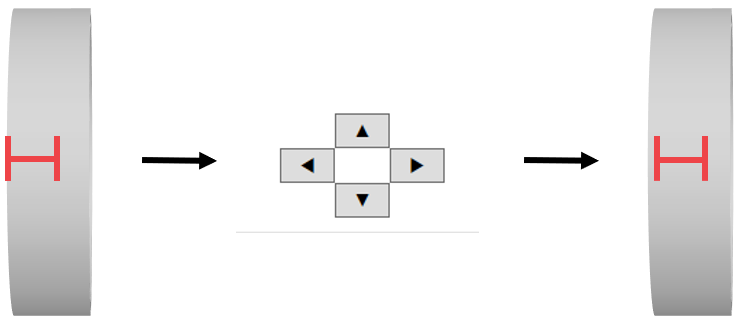
- Move the H pointer to the center of the ring by using the direction key buttons. Then, click Complete.
How to calibrate bangle clamp origin
- Place and secure the bangle clamp to the work area.
- Click Rotary Origin.
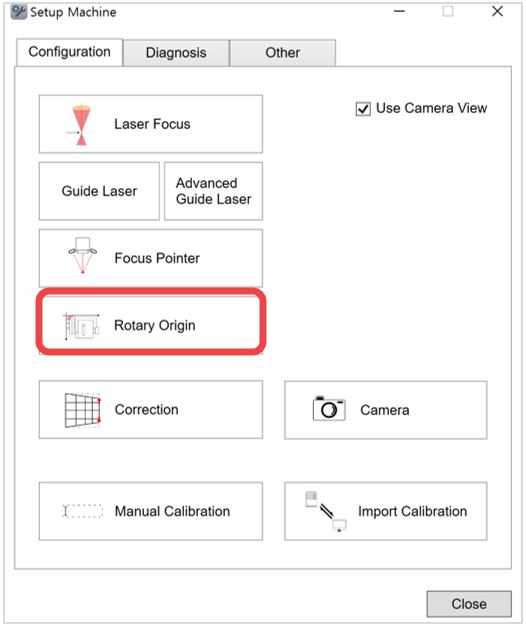
- If bangle clamp auto tilting function is enabled, first, set the tilting origin to 0 degree.
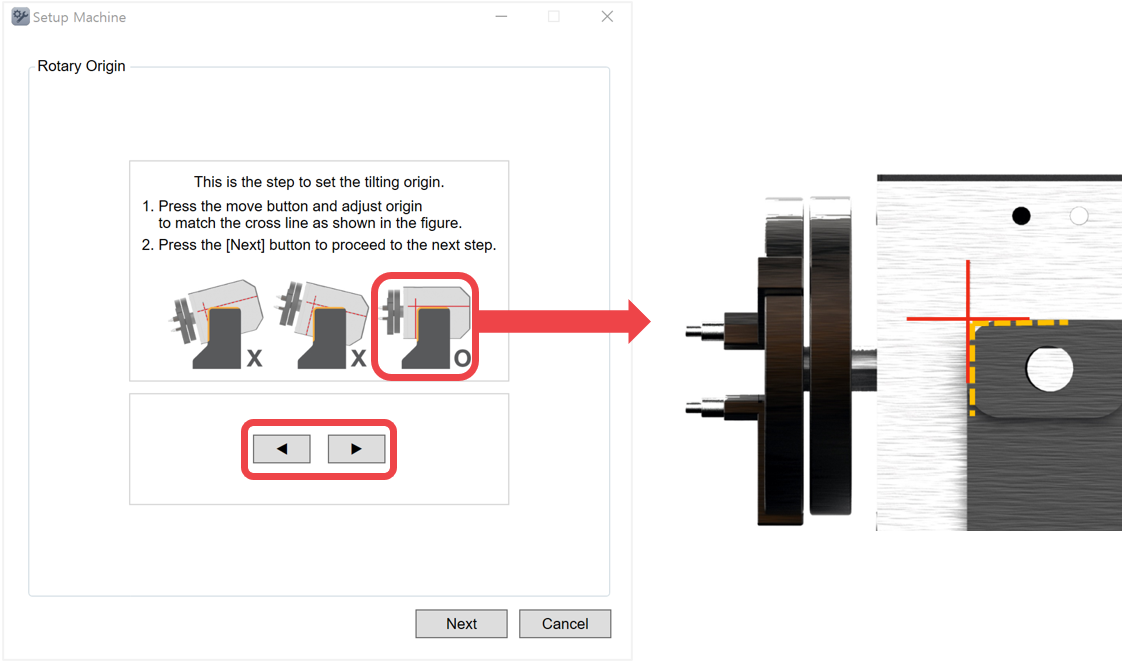
Match the clamp angle with the cross mark on the clamp body (as shown above).
Click up/down button to adjust the angle by 0.1 degree.
Once the angle is positioned to 0 degree, click Next.
※Unlike the rotary clamp, adjusting the left-right position saves the setting permanently, even after restarting the program.