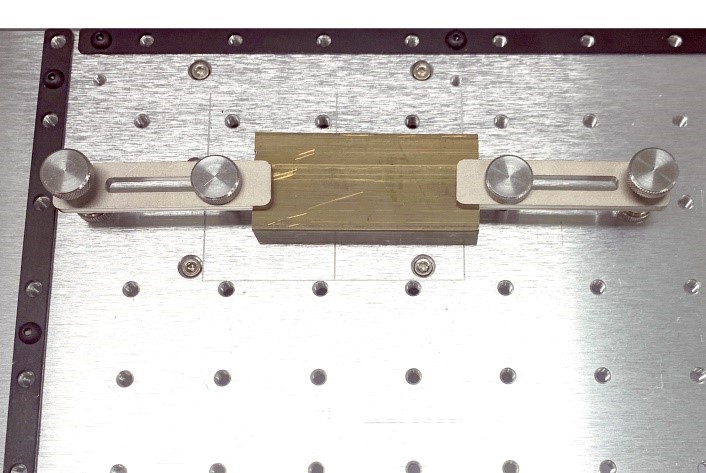
1. Flatbed Clamp
Place the material on the flatbed then secure it by using the clamps provided (see clamps below). The clamps are used to secure the material to the flatbed so that the material stays in place during engraving or cutting process. The number of clamps to be used may vary depending on the size and/or shape of the material.
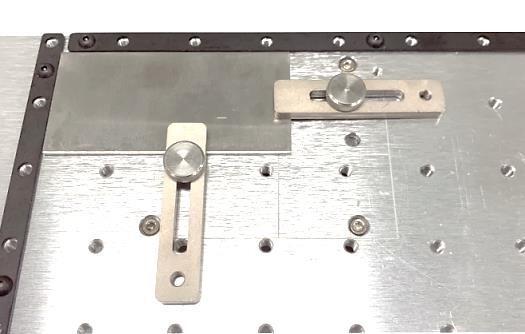 ※See picture for reference.
| L-wrench(4mm) (CP-L40) |
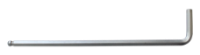 |
1EA | For tightening/unscrewing the bolt. |
| Push clamp | 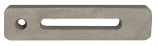 |
2EA | To hold materials in place. |
| Push clamp | 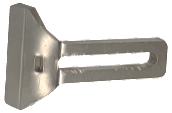 |
2EA | To hold materials in place. |
| Knob (M5x12mm) |
 |
2EA | To secure the clamp set. |
| Knob (M5x25mm) |
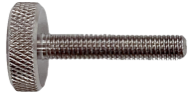 |
2EA | To secure the clamp set. |
| Knob (M5x30mm) |
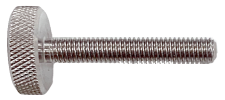 |
2EA | To secure the clamp set. |
| Knob cap | 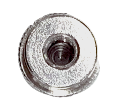 |
2EA | Cap for knob: Used with **M5x25mm knob.** |
| Bolt (M5x10mm) |
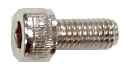 |
5EA | To secure the clamp set. |
| Bolt (M5x18mm) |
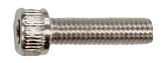 |
5EA | To secure the clamp set. |
How to secure the material with press clamps
For thin material:
Both press and push clamps can be used to secure thin materials. Use the knobs to attach the clamps to the flatbed. Screw the knobs down to the flatbed to secure the material in place. Take note that the position of the clamps and the number of clamps to be used may depend on the size and shape of the material. It may also depend on user’s preference.
|
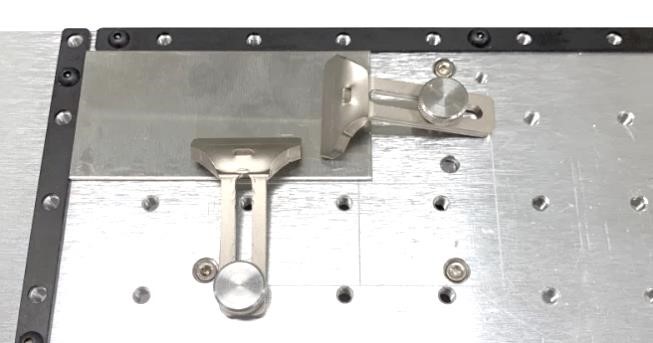 |
| Press clamp with knob | Push clamp with knob |
For thick material:
- Assemble the press clamp. Insert the M5x25mm knob into the hole of the press clamp then screw the cap.

- Place the material on the clamp.
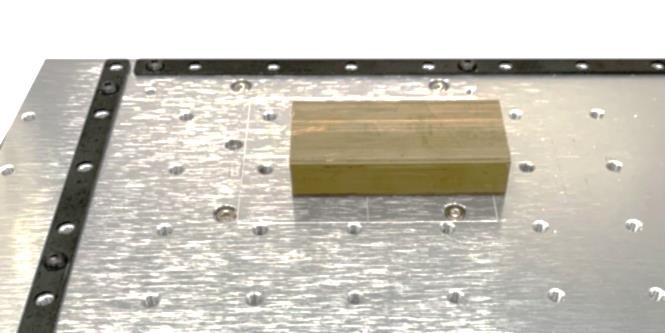
- Place the assembled press clamp on top of the material (in a horizontal position). The clamp must be placed on the same level as the material surface.
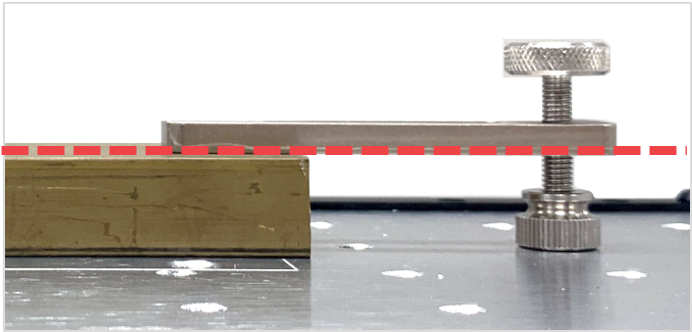
- Attach the press clamp to the flatbed. Insert the M5x30mm knob into the press clamp then screw the knob down to secure the material to the flatbed.
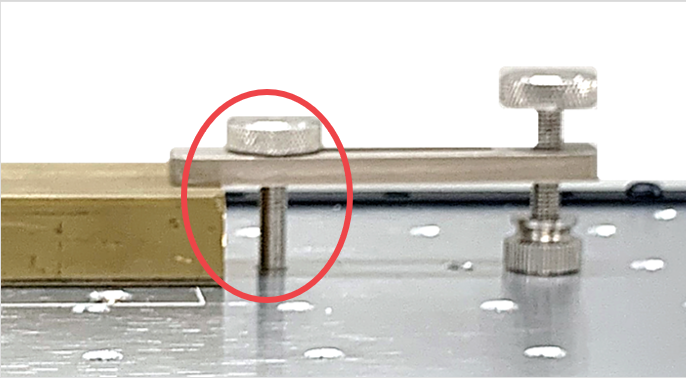
- Secure the sides of the material. Use two or more clamps to secure the material. Be sure to screw the knobs down to the flatbed so the material stays in place.