Drilling
What is Drilling?
Drilling is a process of cutting a hole (to a certain depth and diameter) in a solid material with the use of an endmill or V-cut tool.
The size of the hole varies depending on the thickness of the tool used.
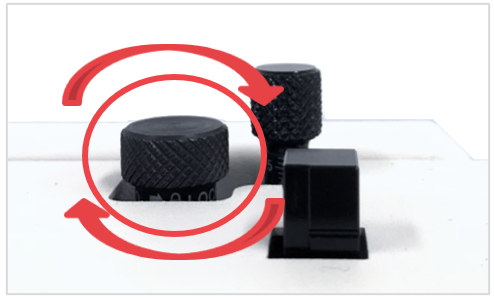
Be sure to lock the tension.
If the head is not firmly attached or secured, drilling to a set depth may not be possible.
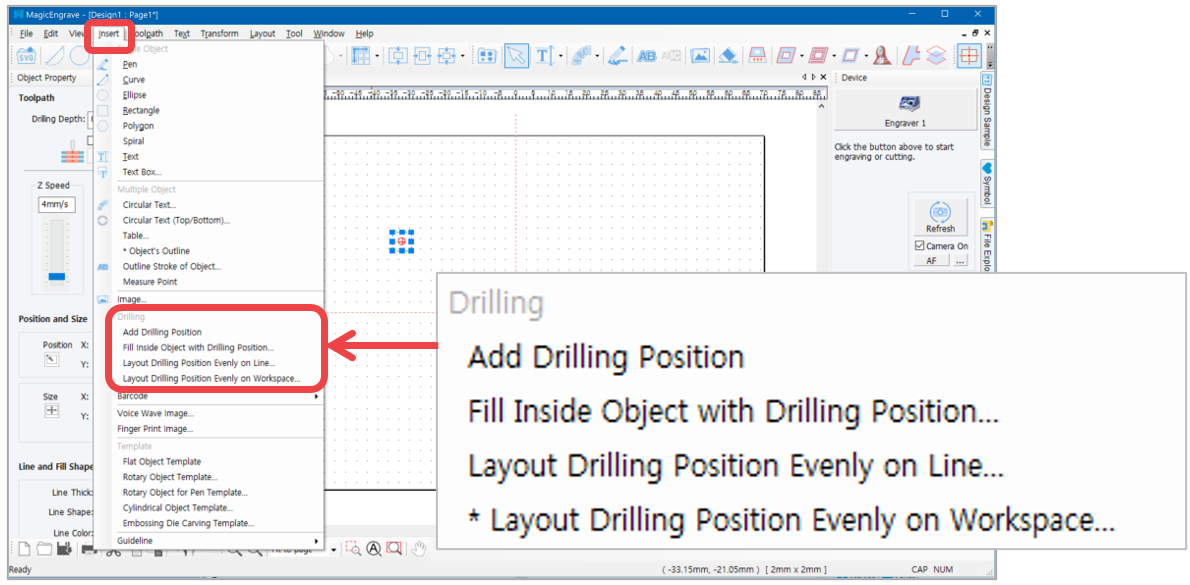
Select Insert menu, then click Drilling on the menu as shown below.
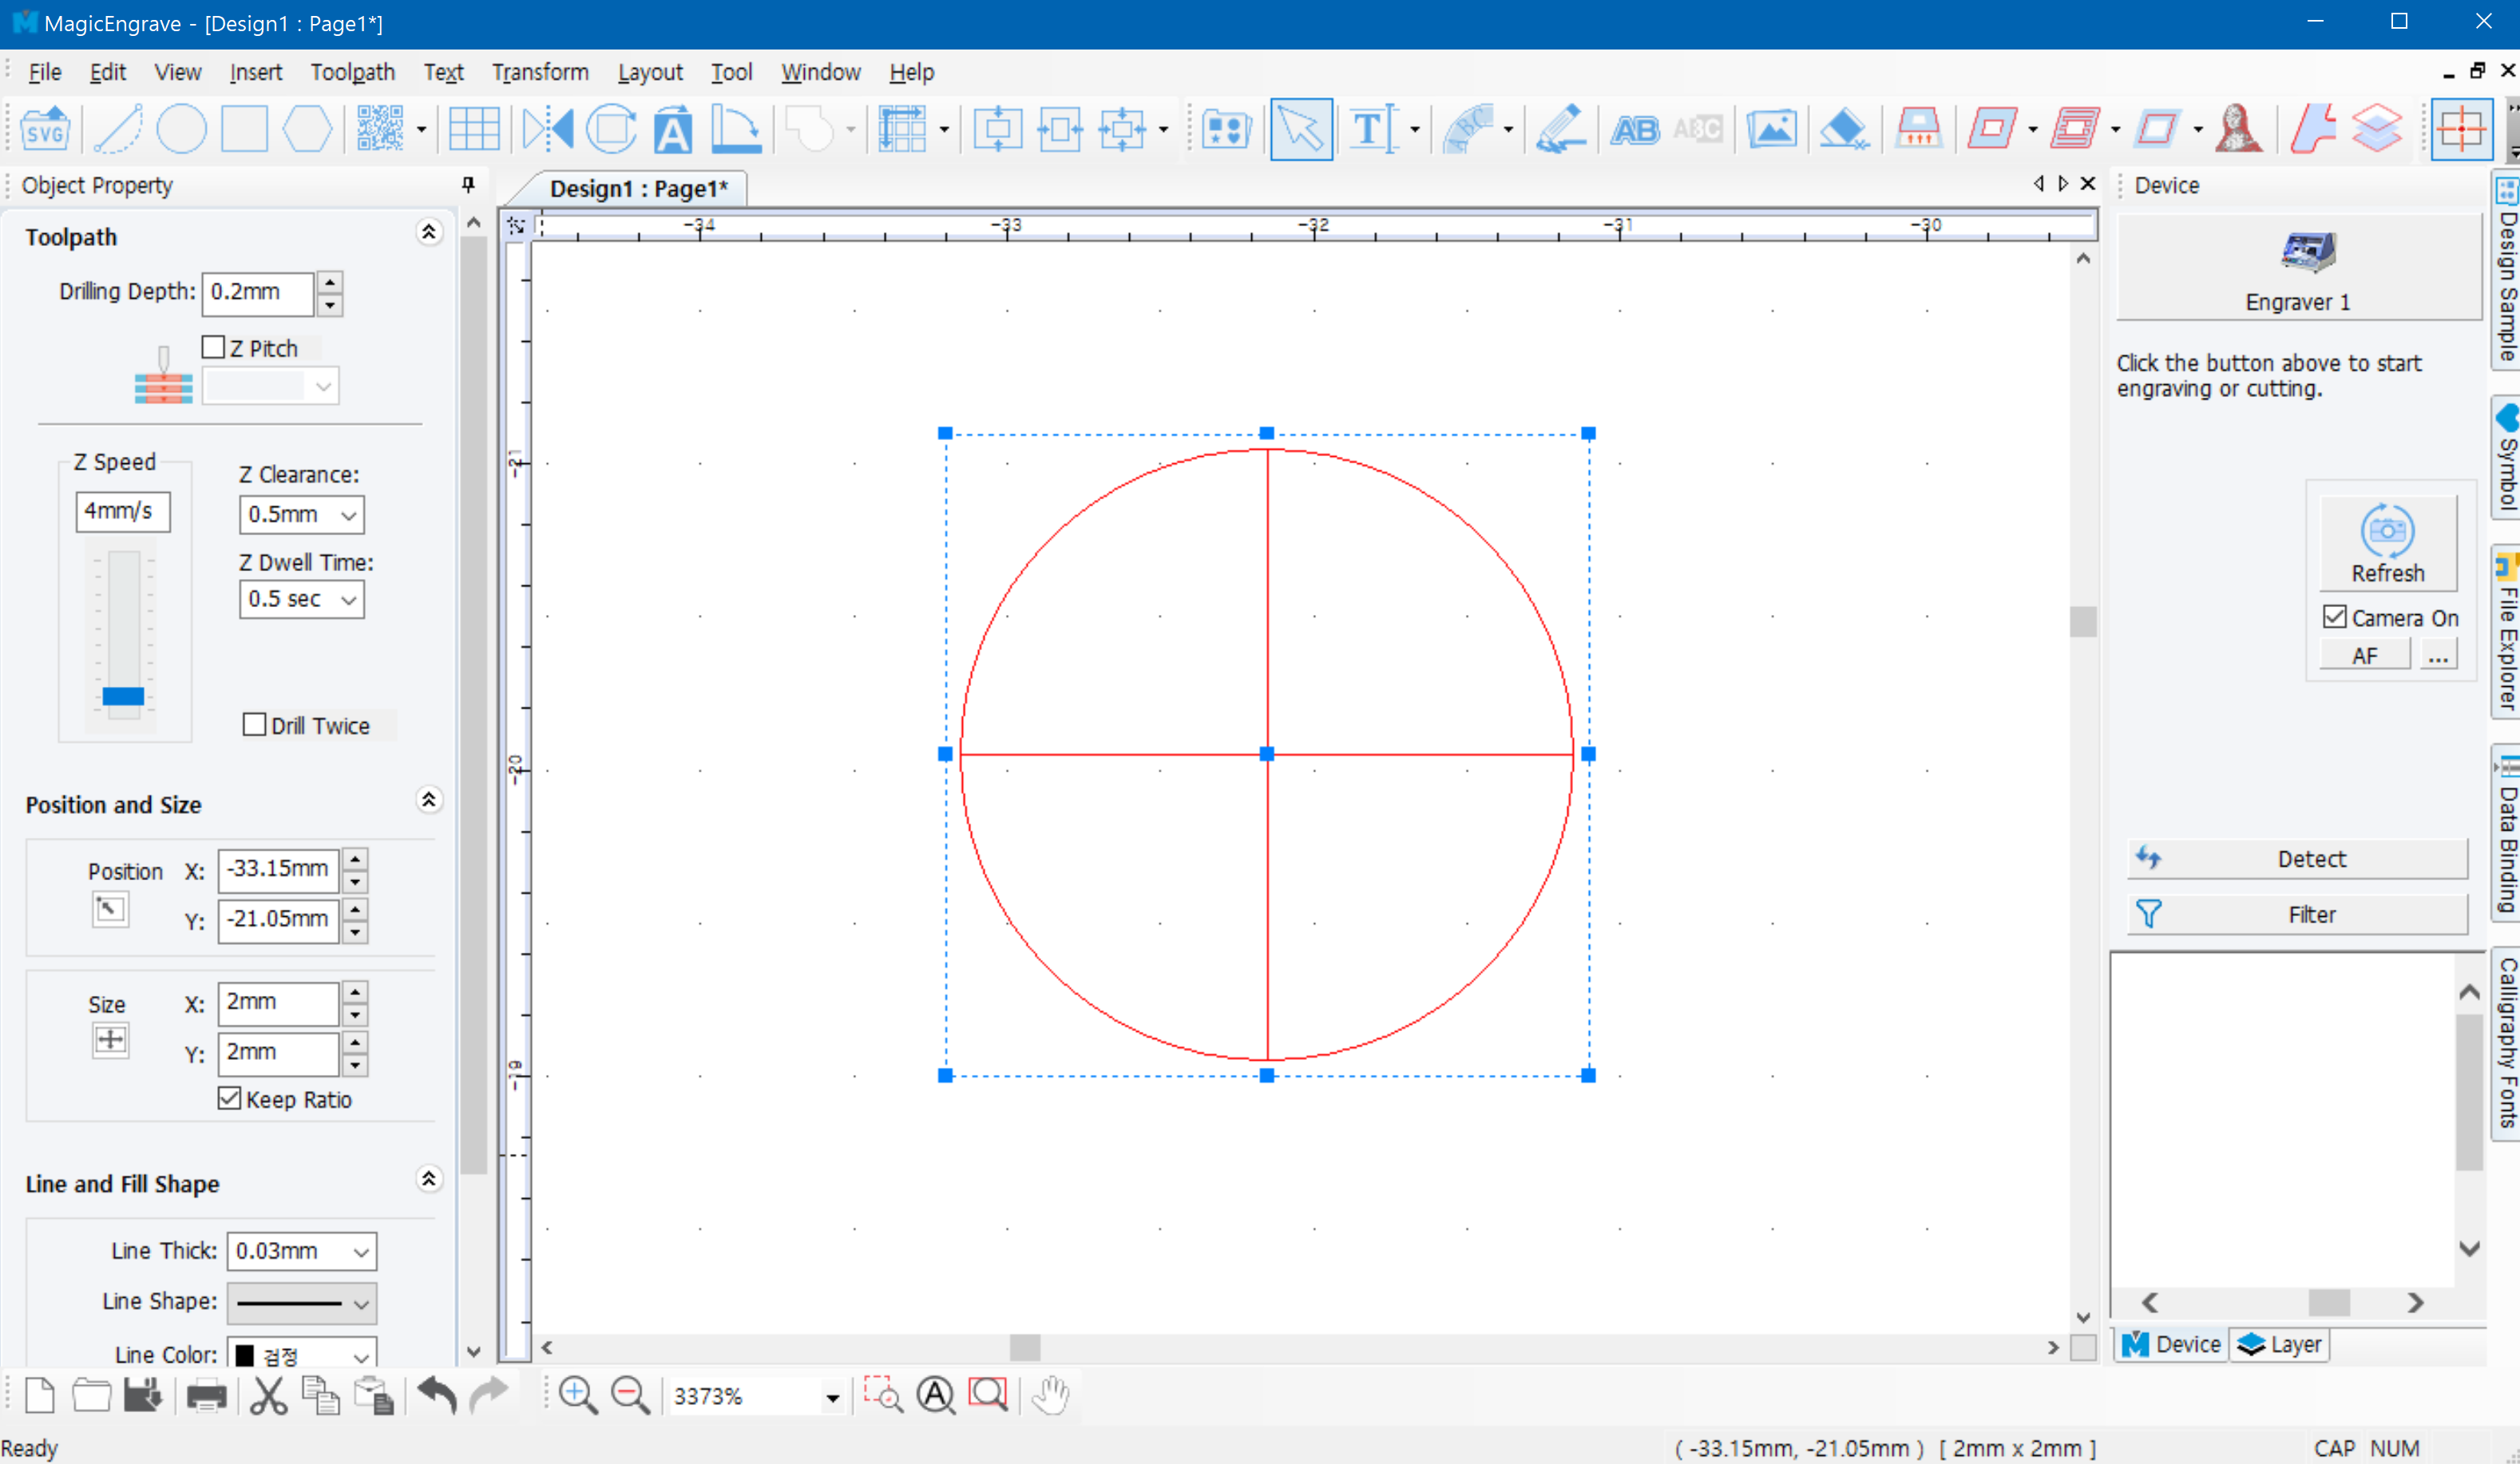
Add Drilling Object
Select “Add Drilling Position.” Click the work area and a drilling object will appear. Set the drilling depth and speed and other drilling options on the object property window on the left of the screen.
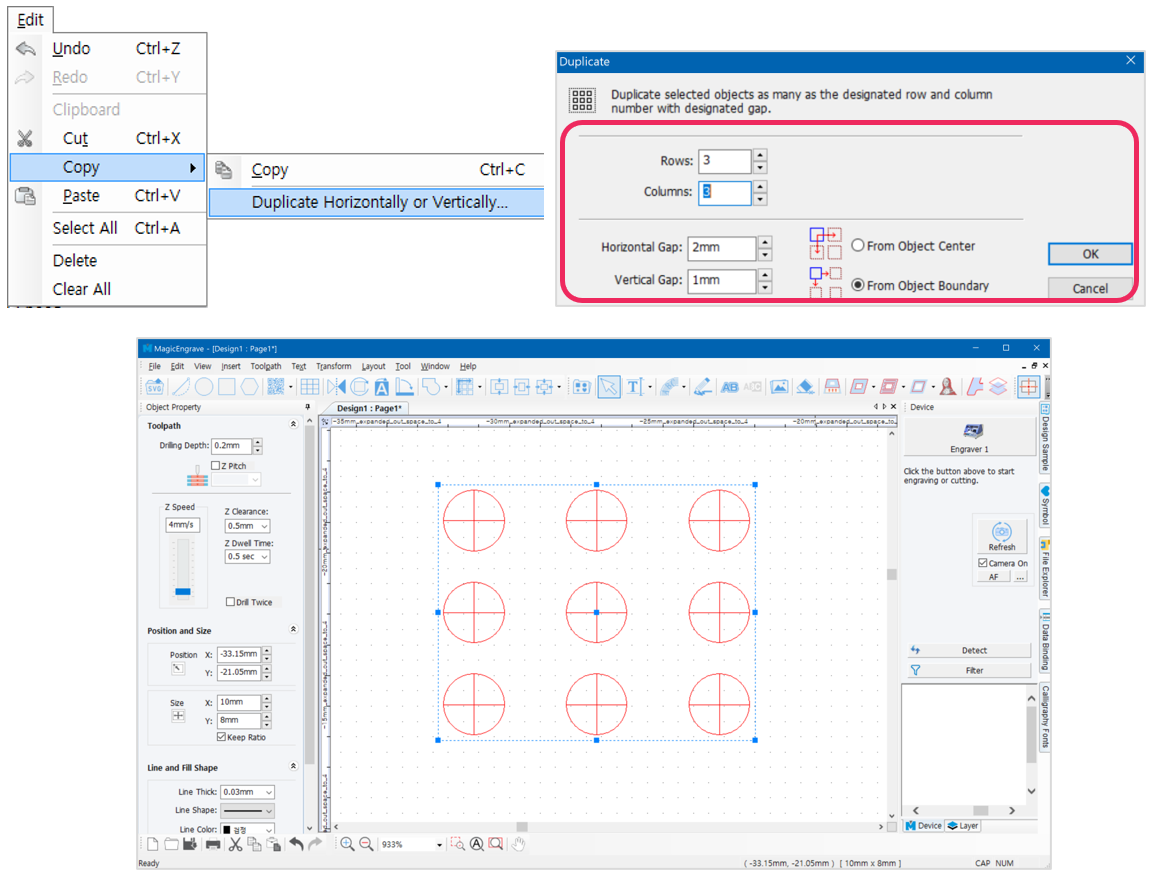
The drilling object can be duplicated. Go to Edit menu → Copy → Duplicate Horizontally or Vertically.
The drilling objects can be formed into various shapes. Form a shape by dragging and moving the location of the drilling objects with the mouse.
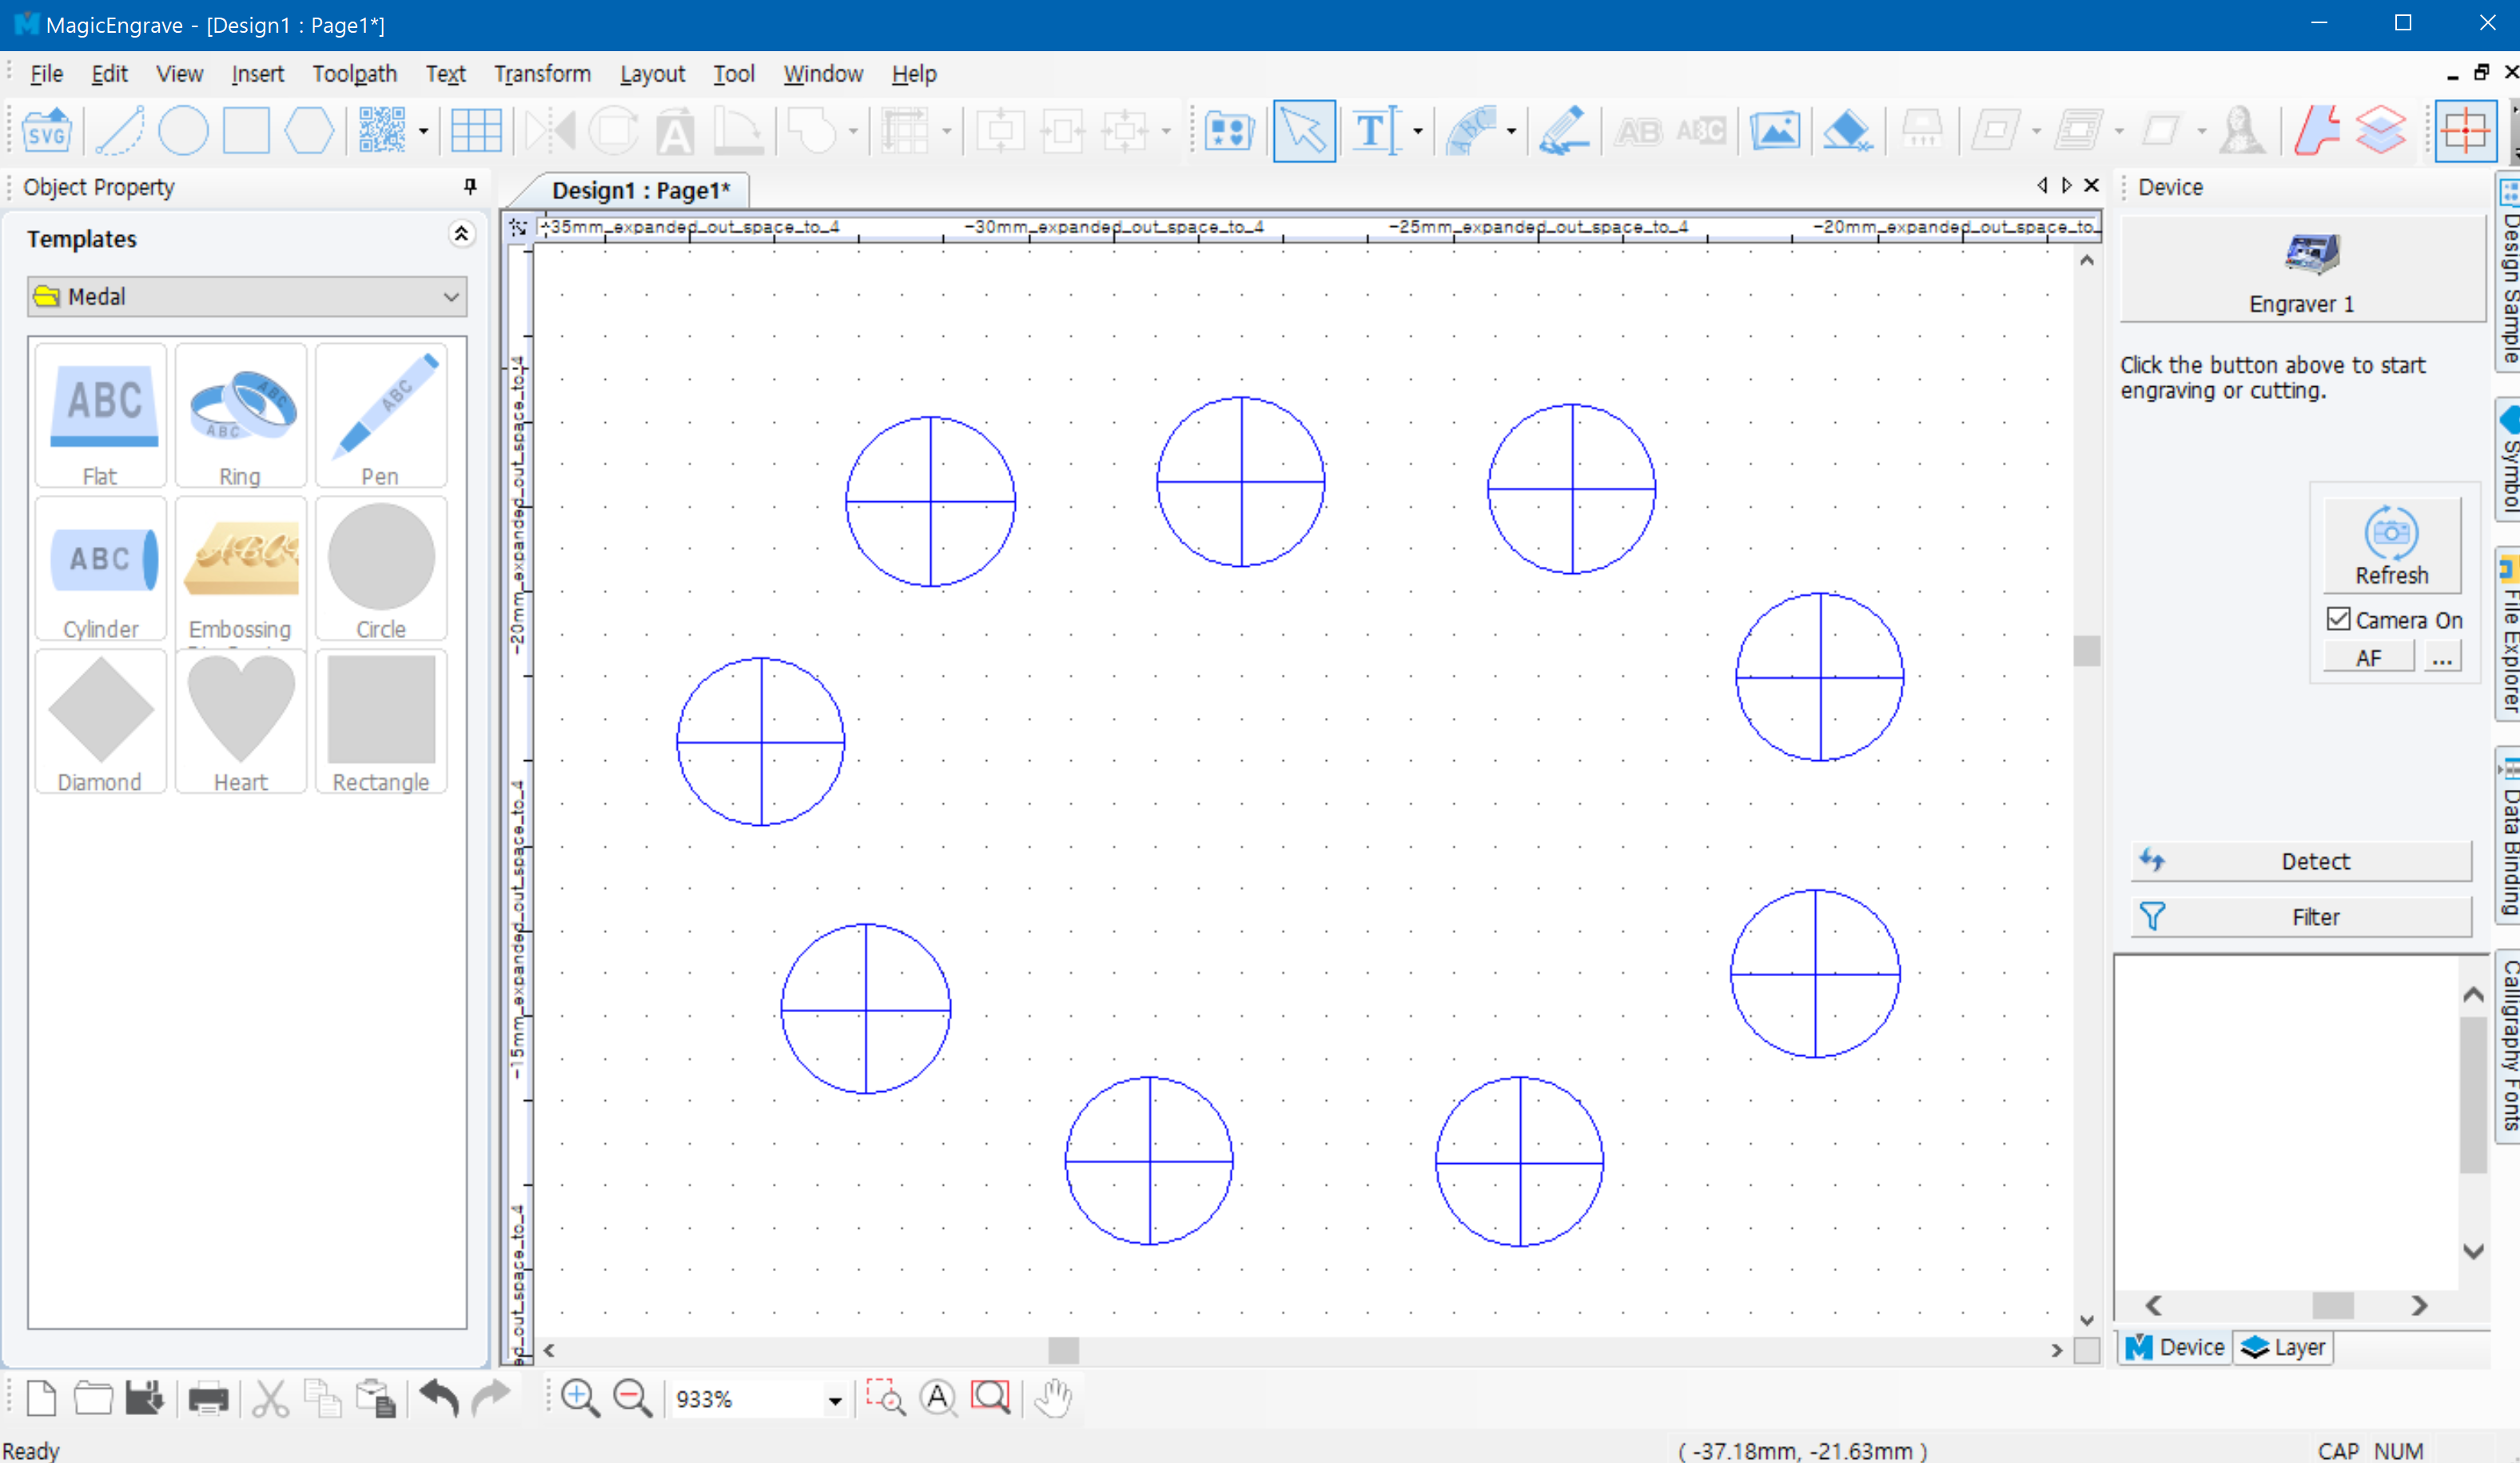
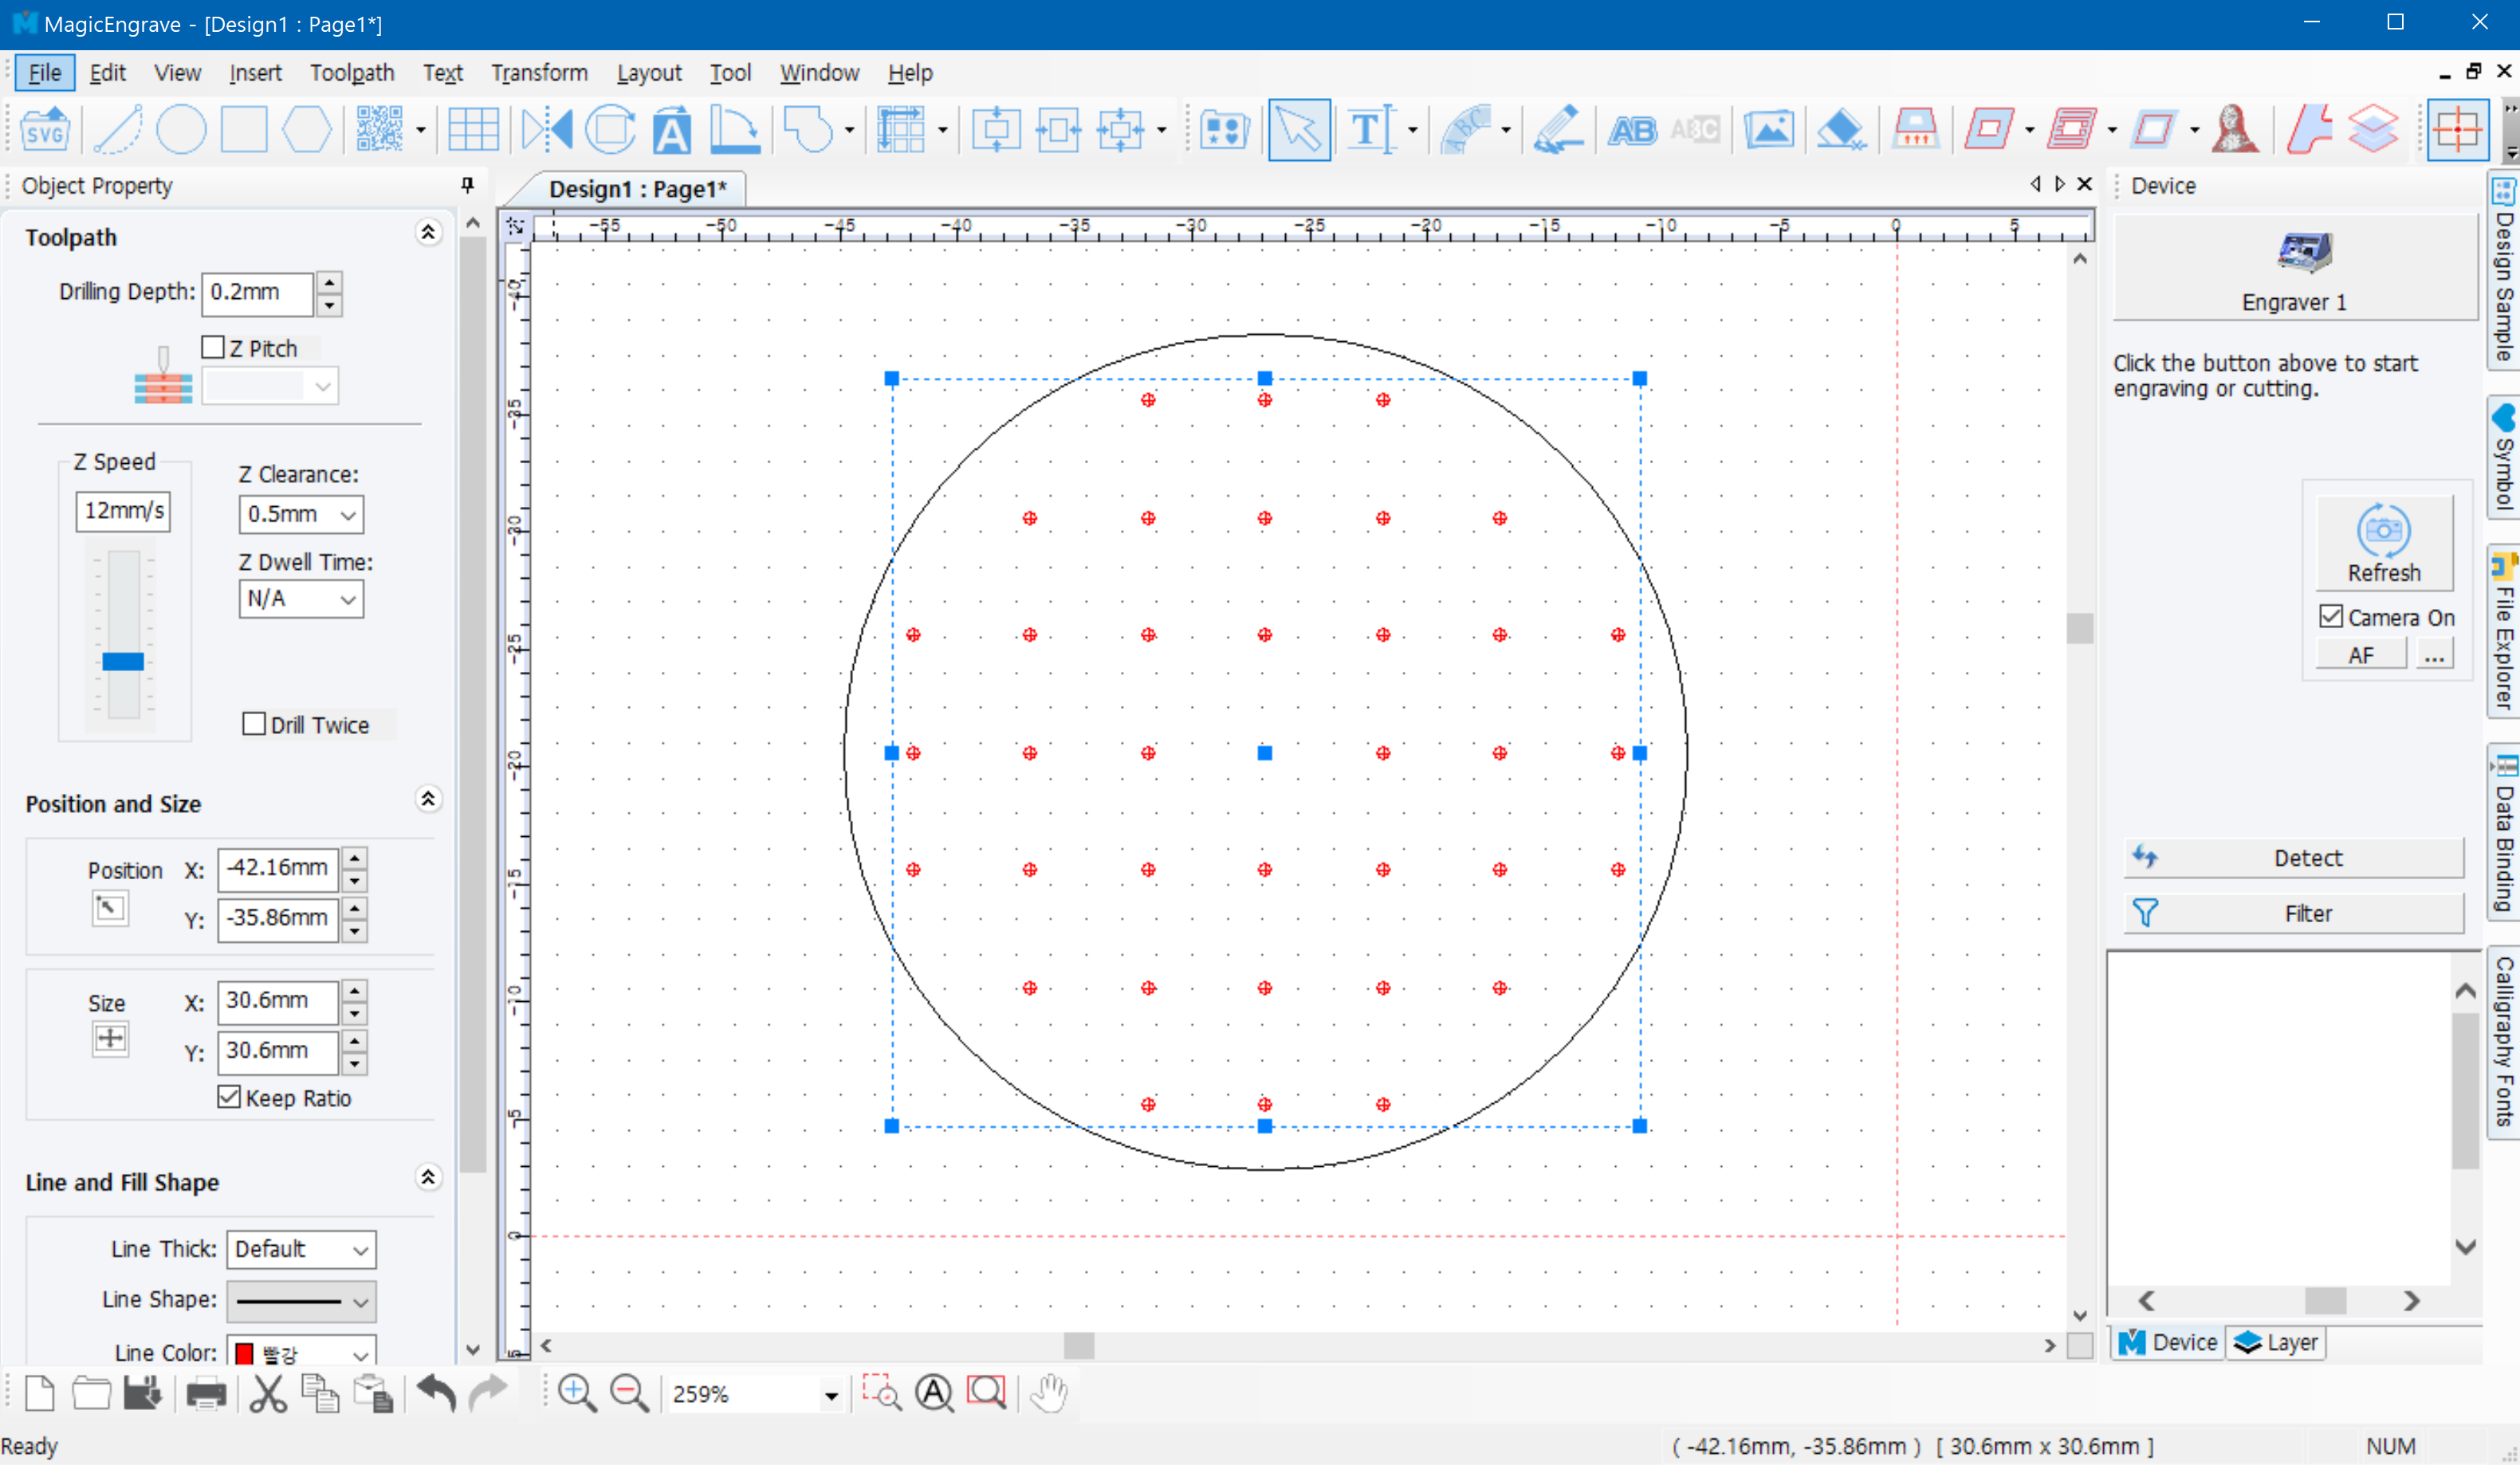
Fill inside Object with Drilling Position
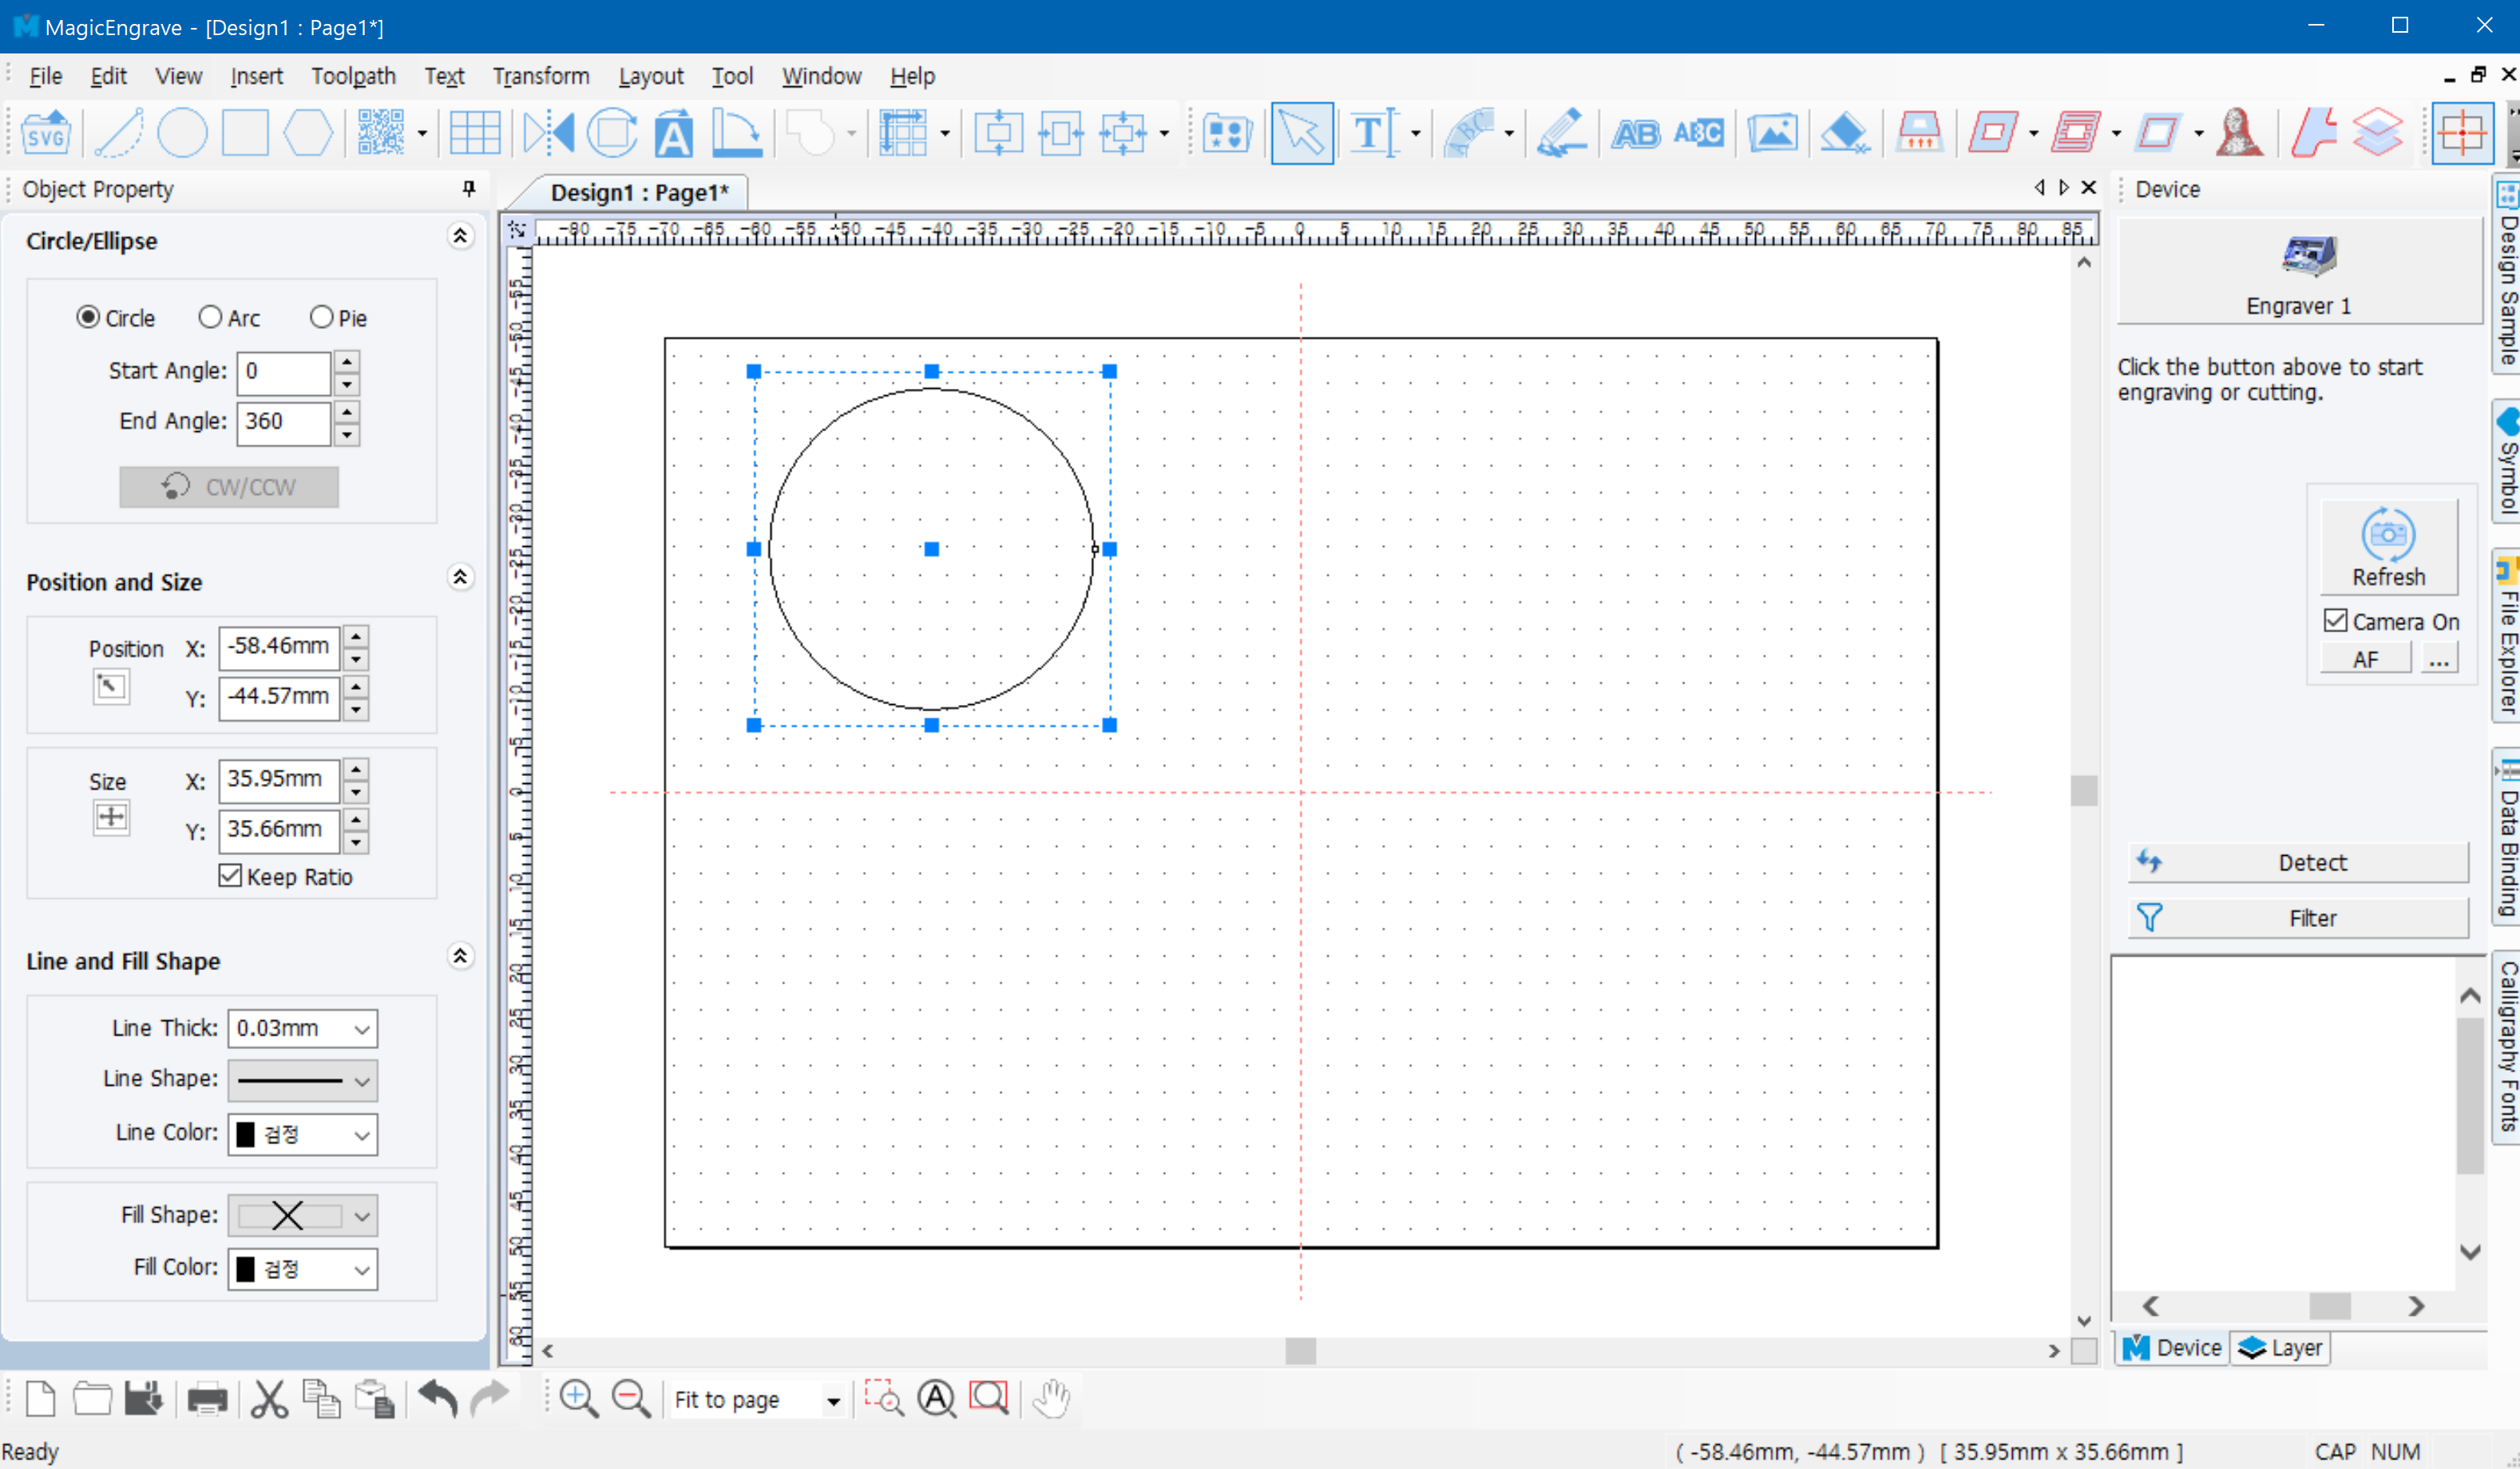
- Create a shape to be filled with the drilling objects.
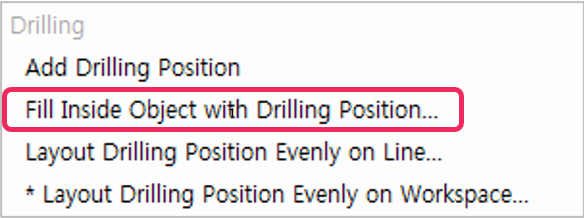
- Click Insert menu → Fill Inside Object with Drilling Position.
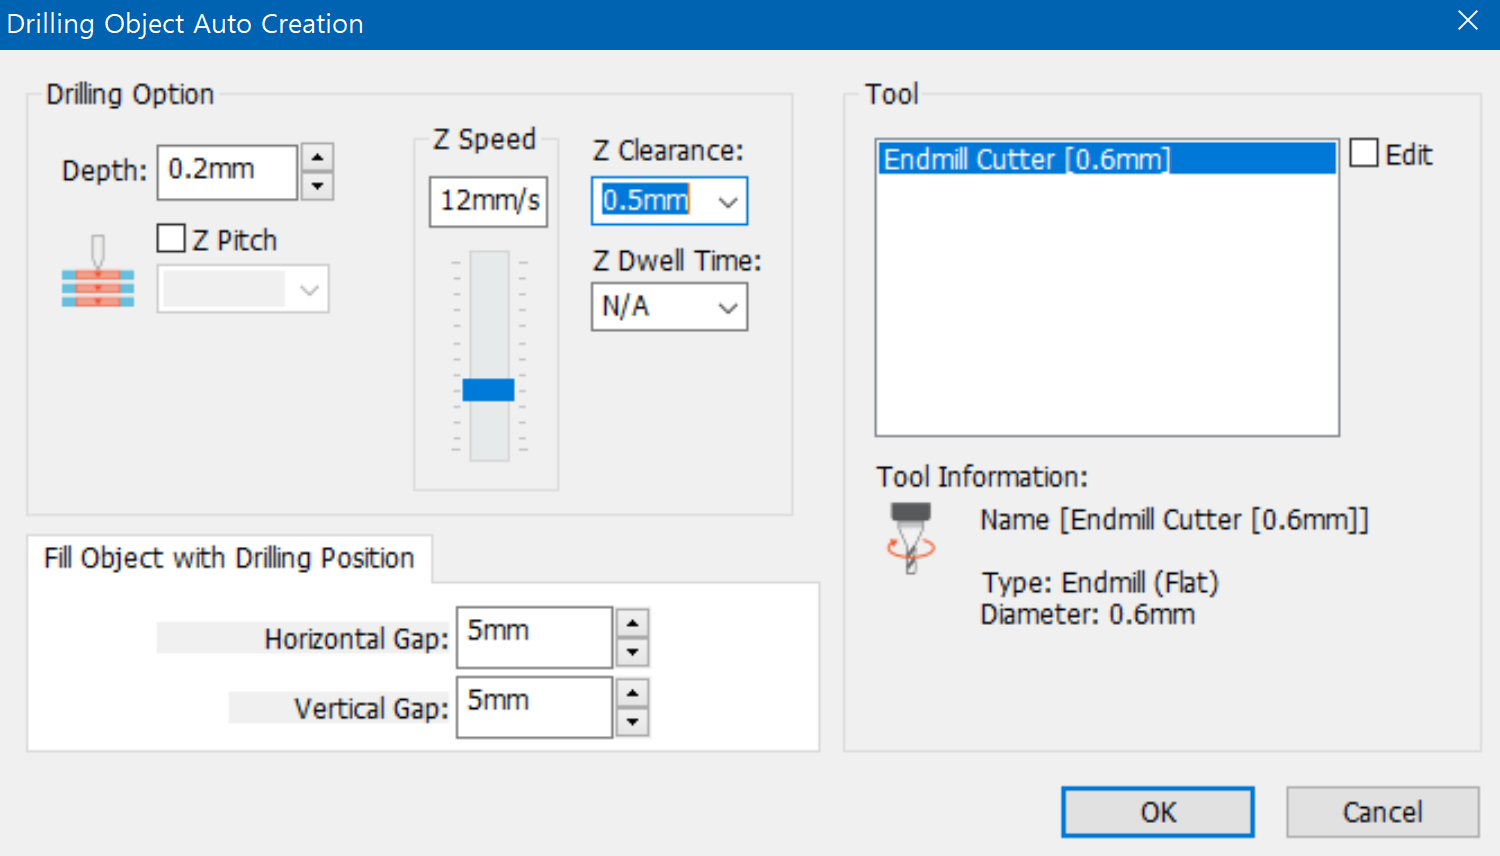
“Drilling Object Auto Creation” window will appear on the screen. Select a tool to be used then adjust the drilling options.
Within the selected object, drilling objects are automatically created at a designated gap.
Layout Drilling Position along Line
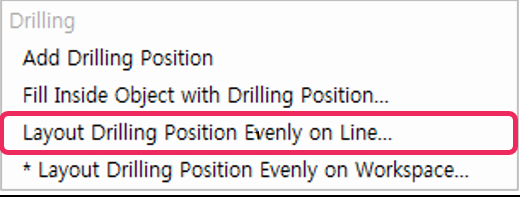
The drilling objects can be placed along the outline of the selected object. Create a shape on which the drilling objects are automatically placed then click Insert → Layout Drilling Position Evenly on Line.
“Drilling Object Auto Creation” window will appear on the screen. Select a tool to be used then adjust the drilling options.
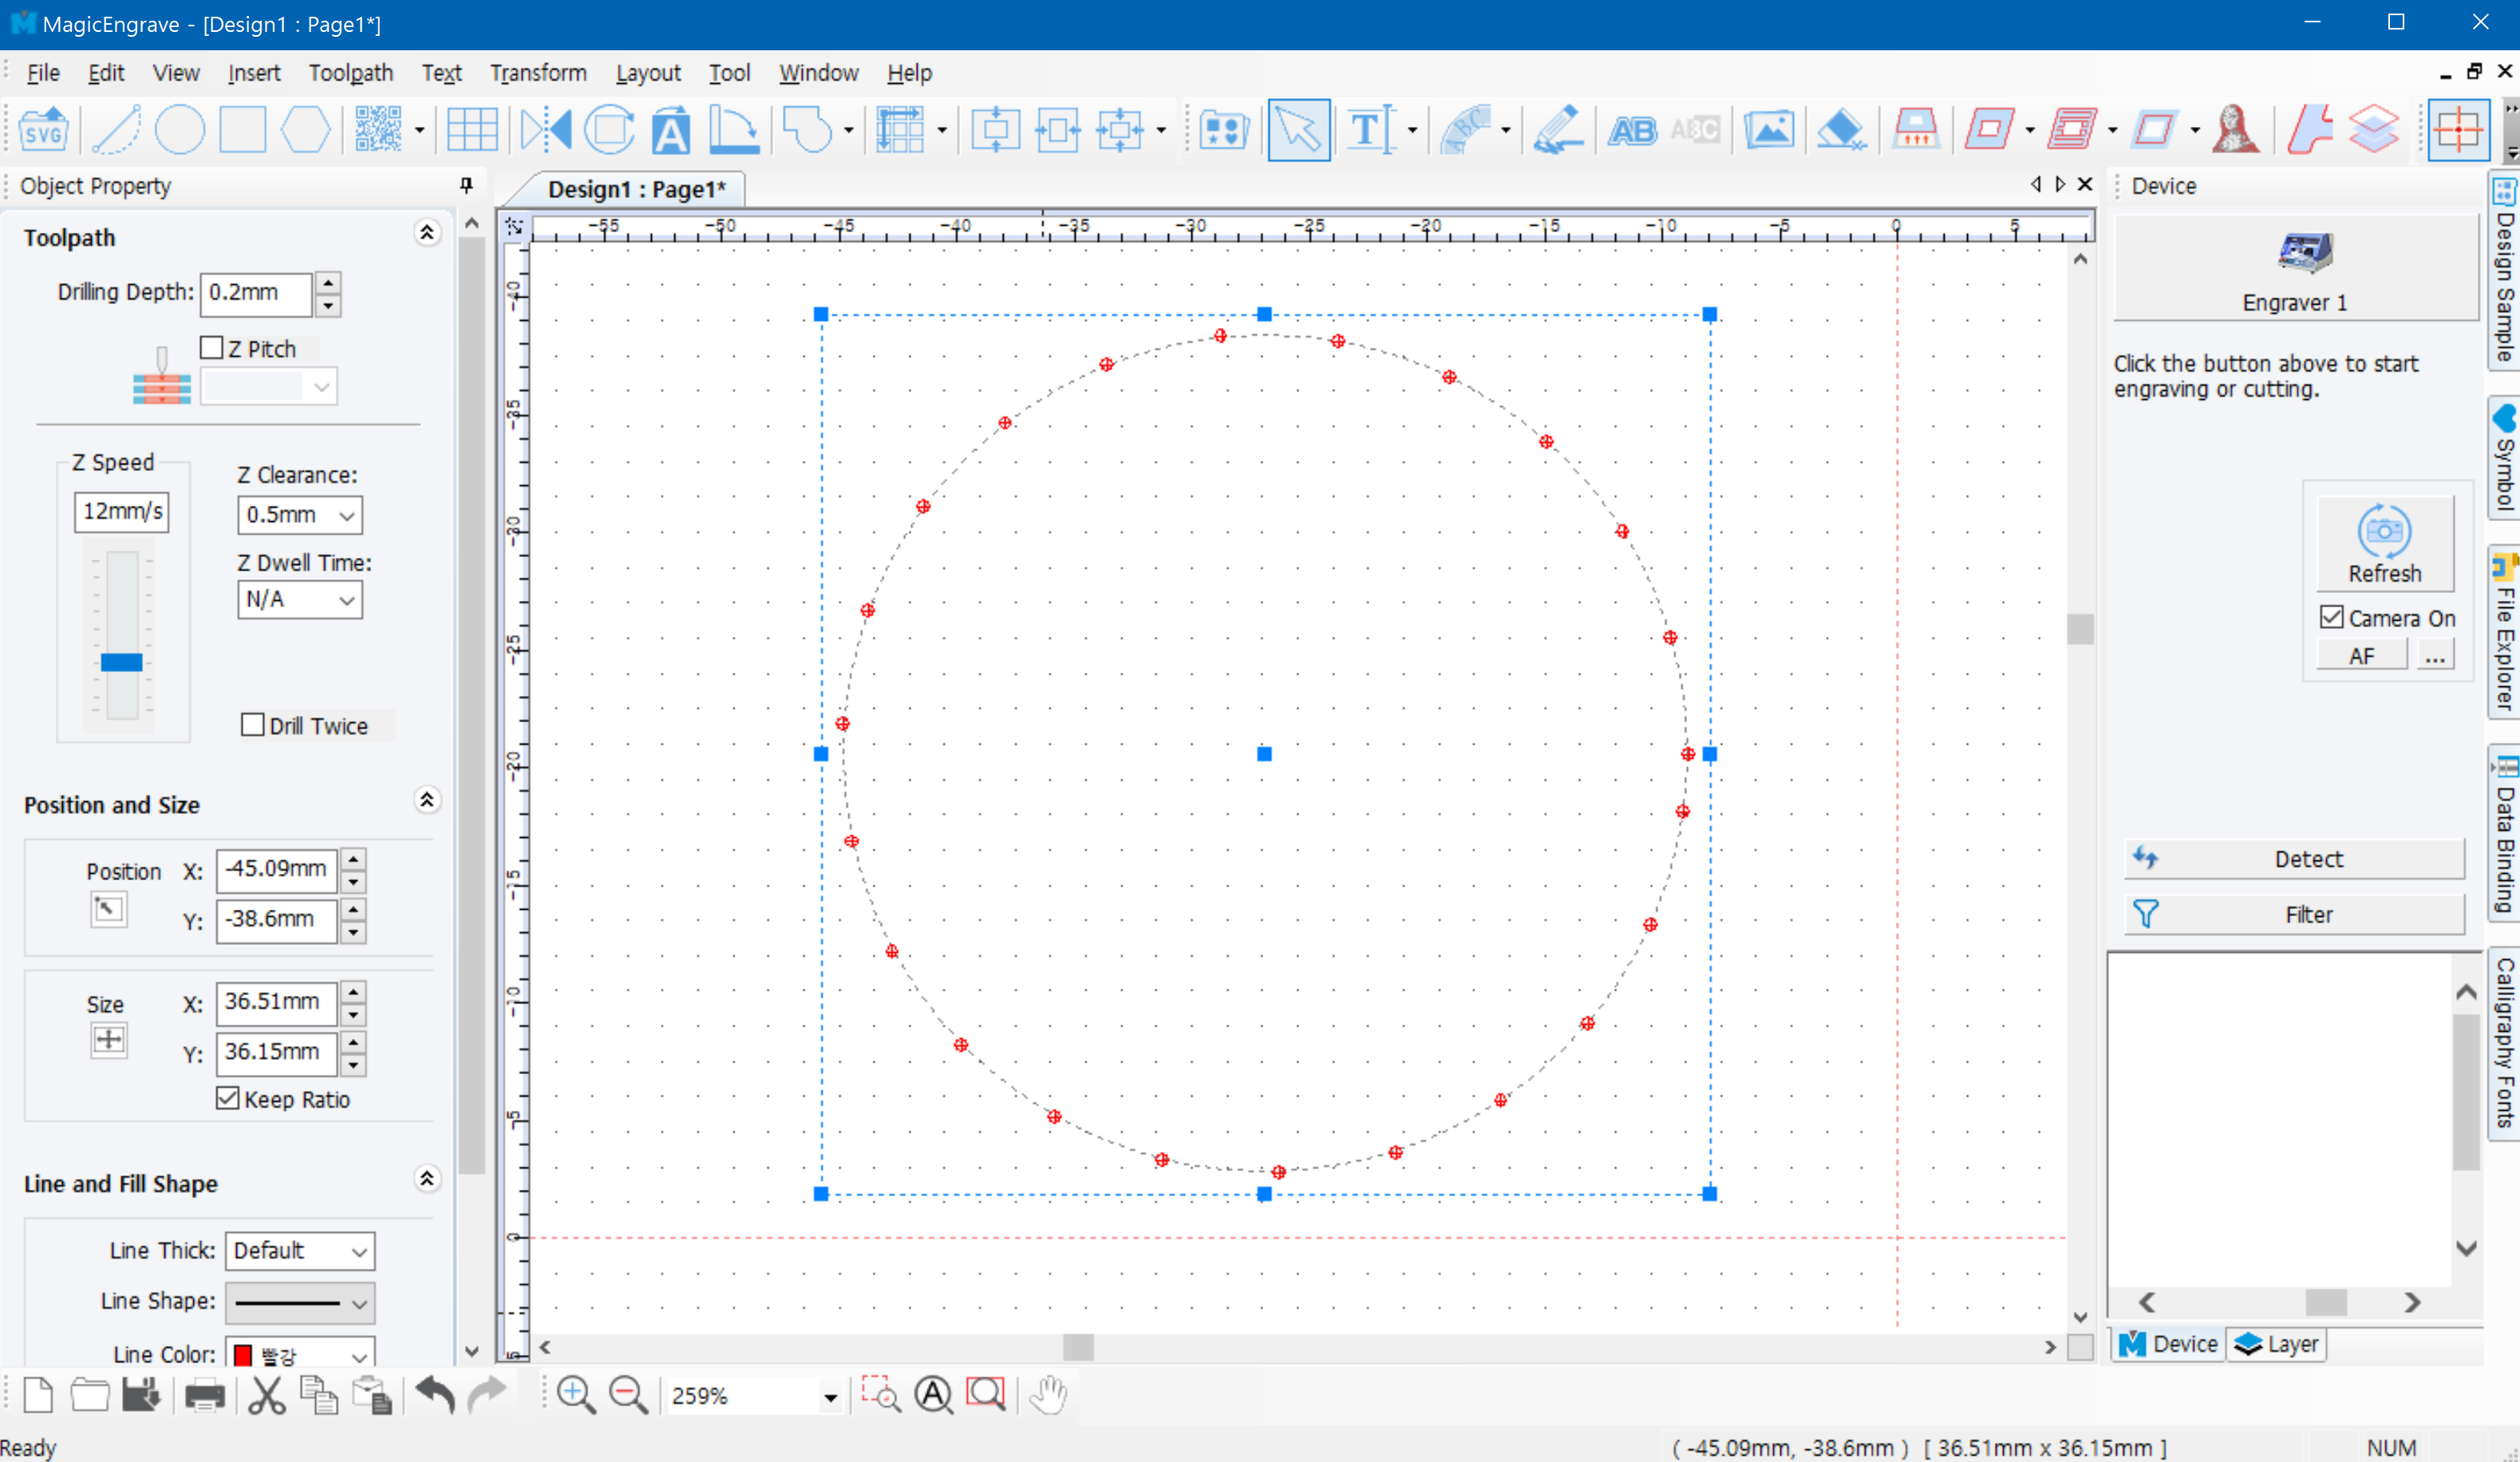
The drilling objects are automatically created along the outline of the selected object at a designated gap.